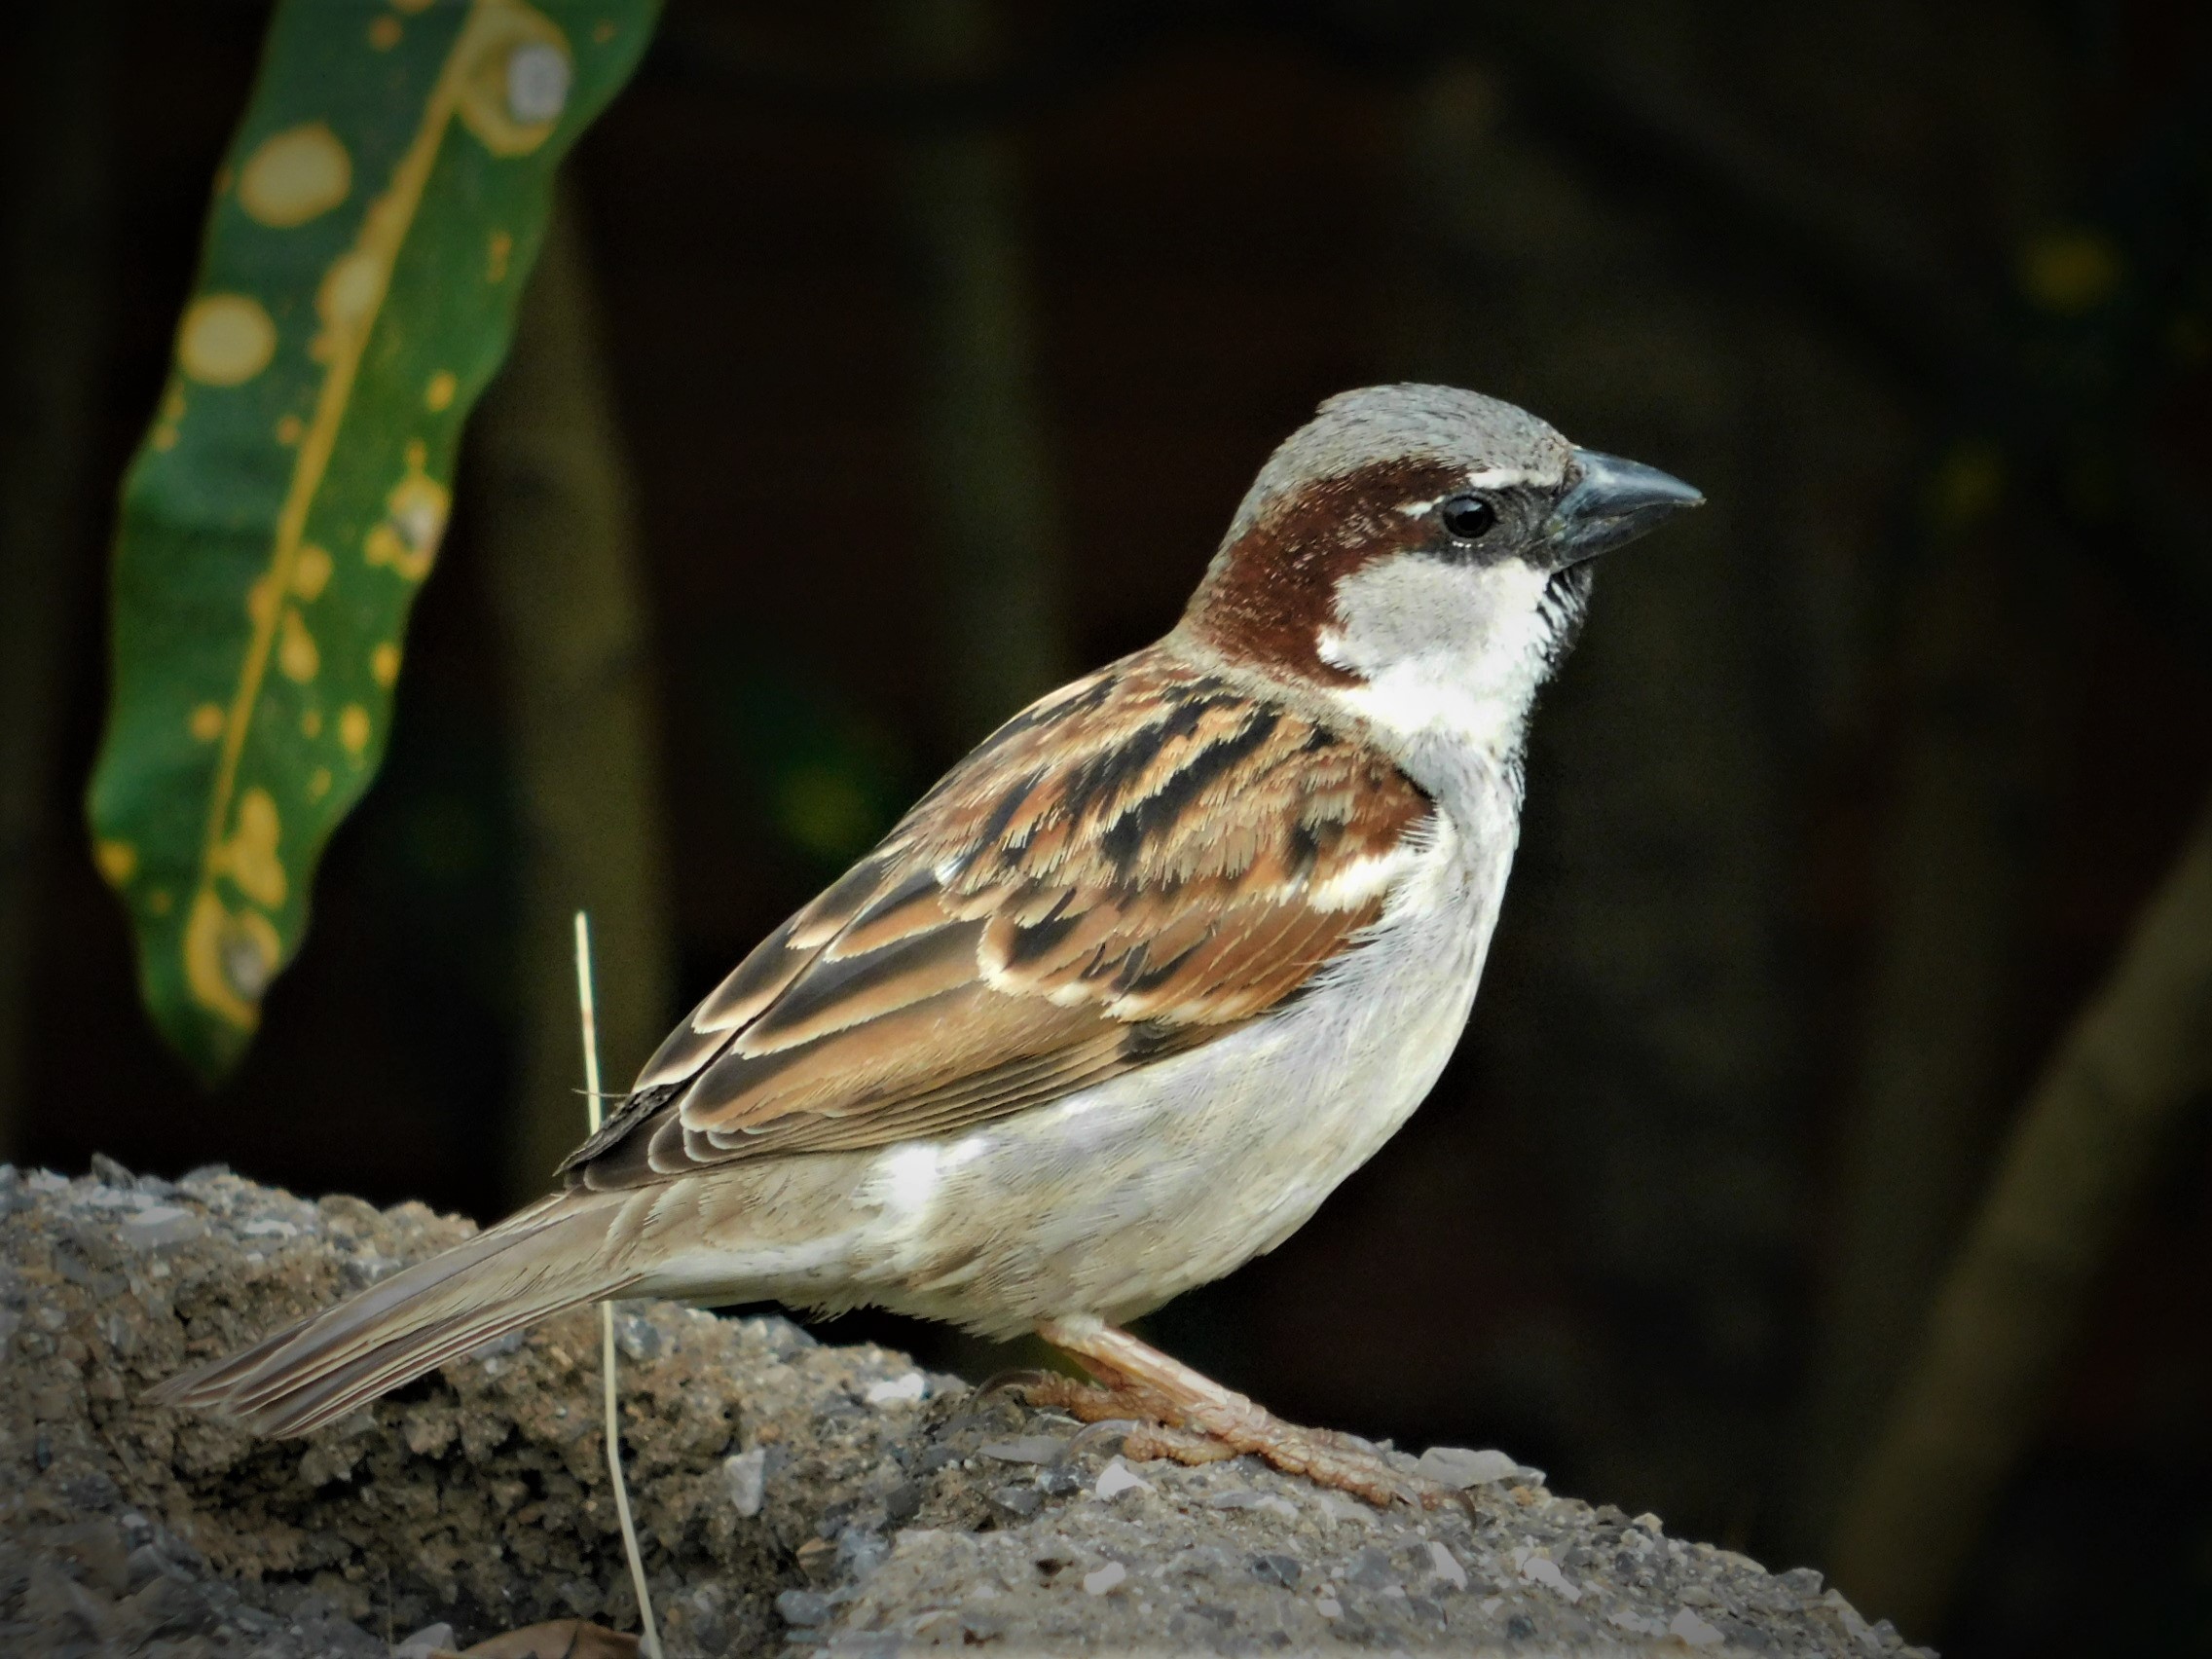
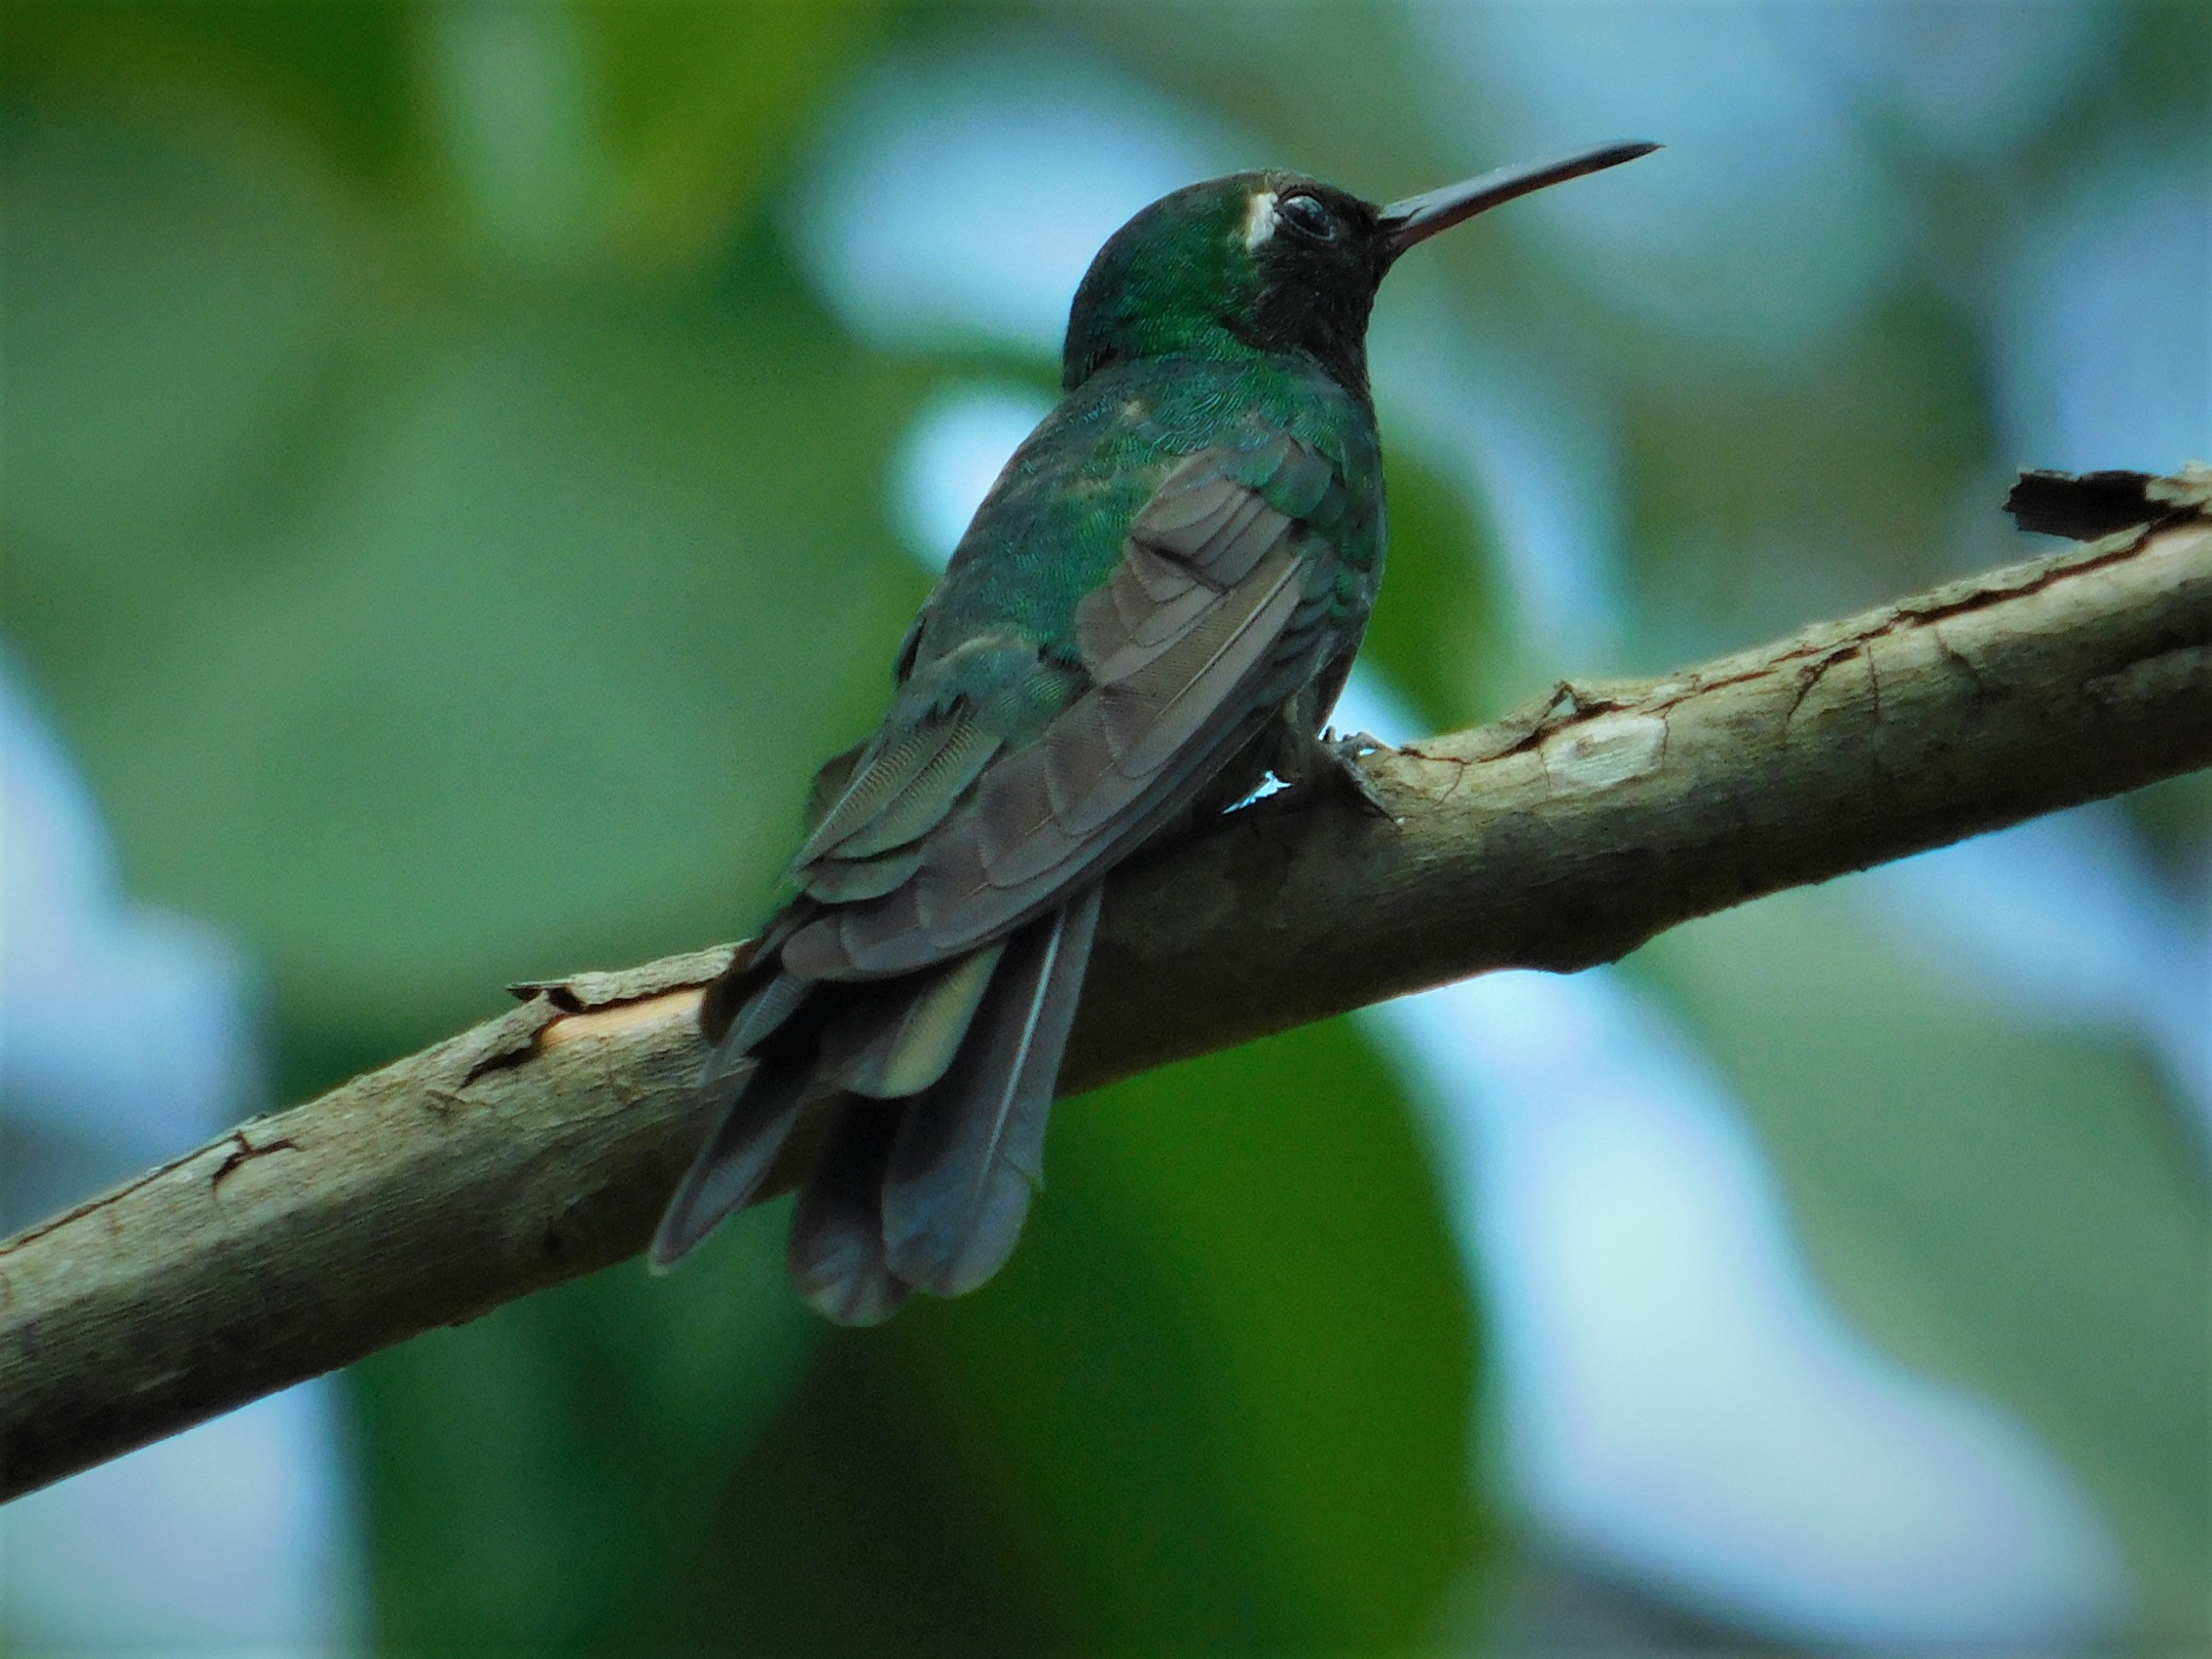
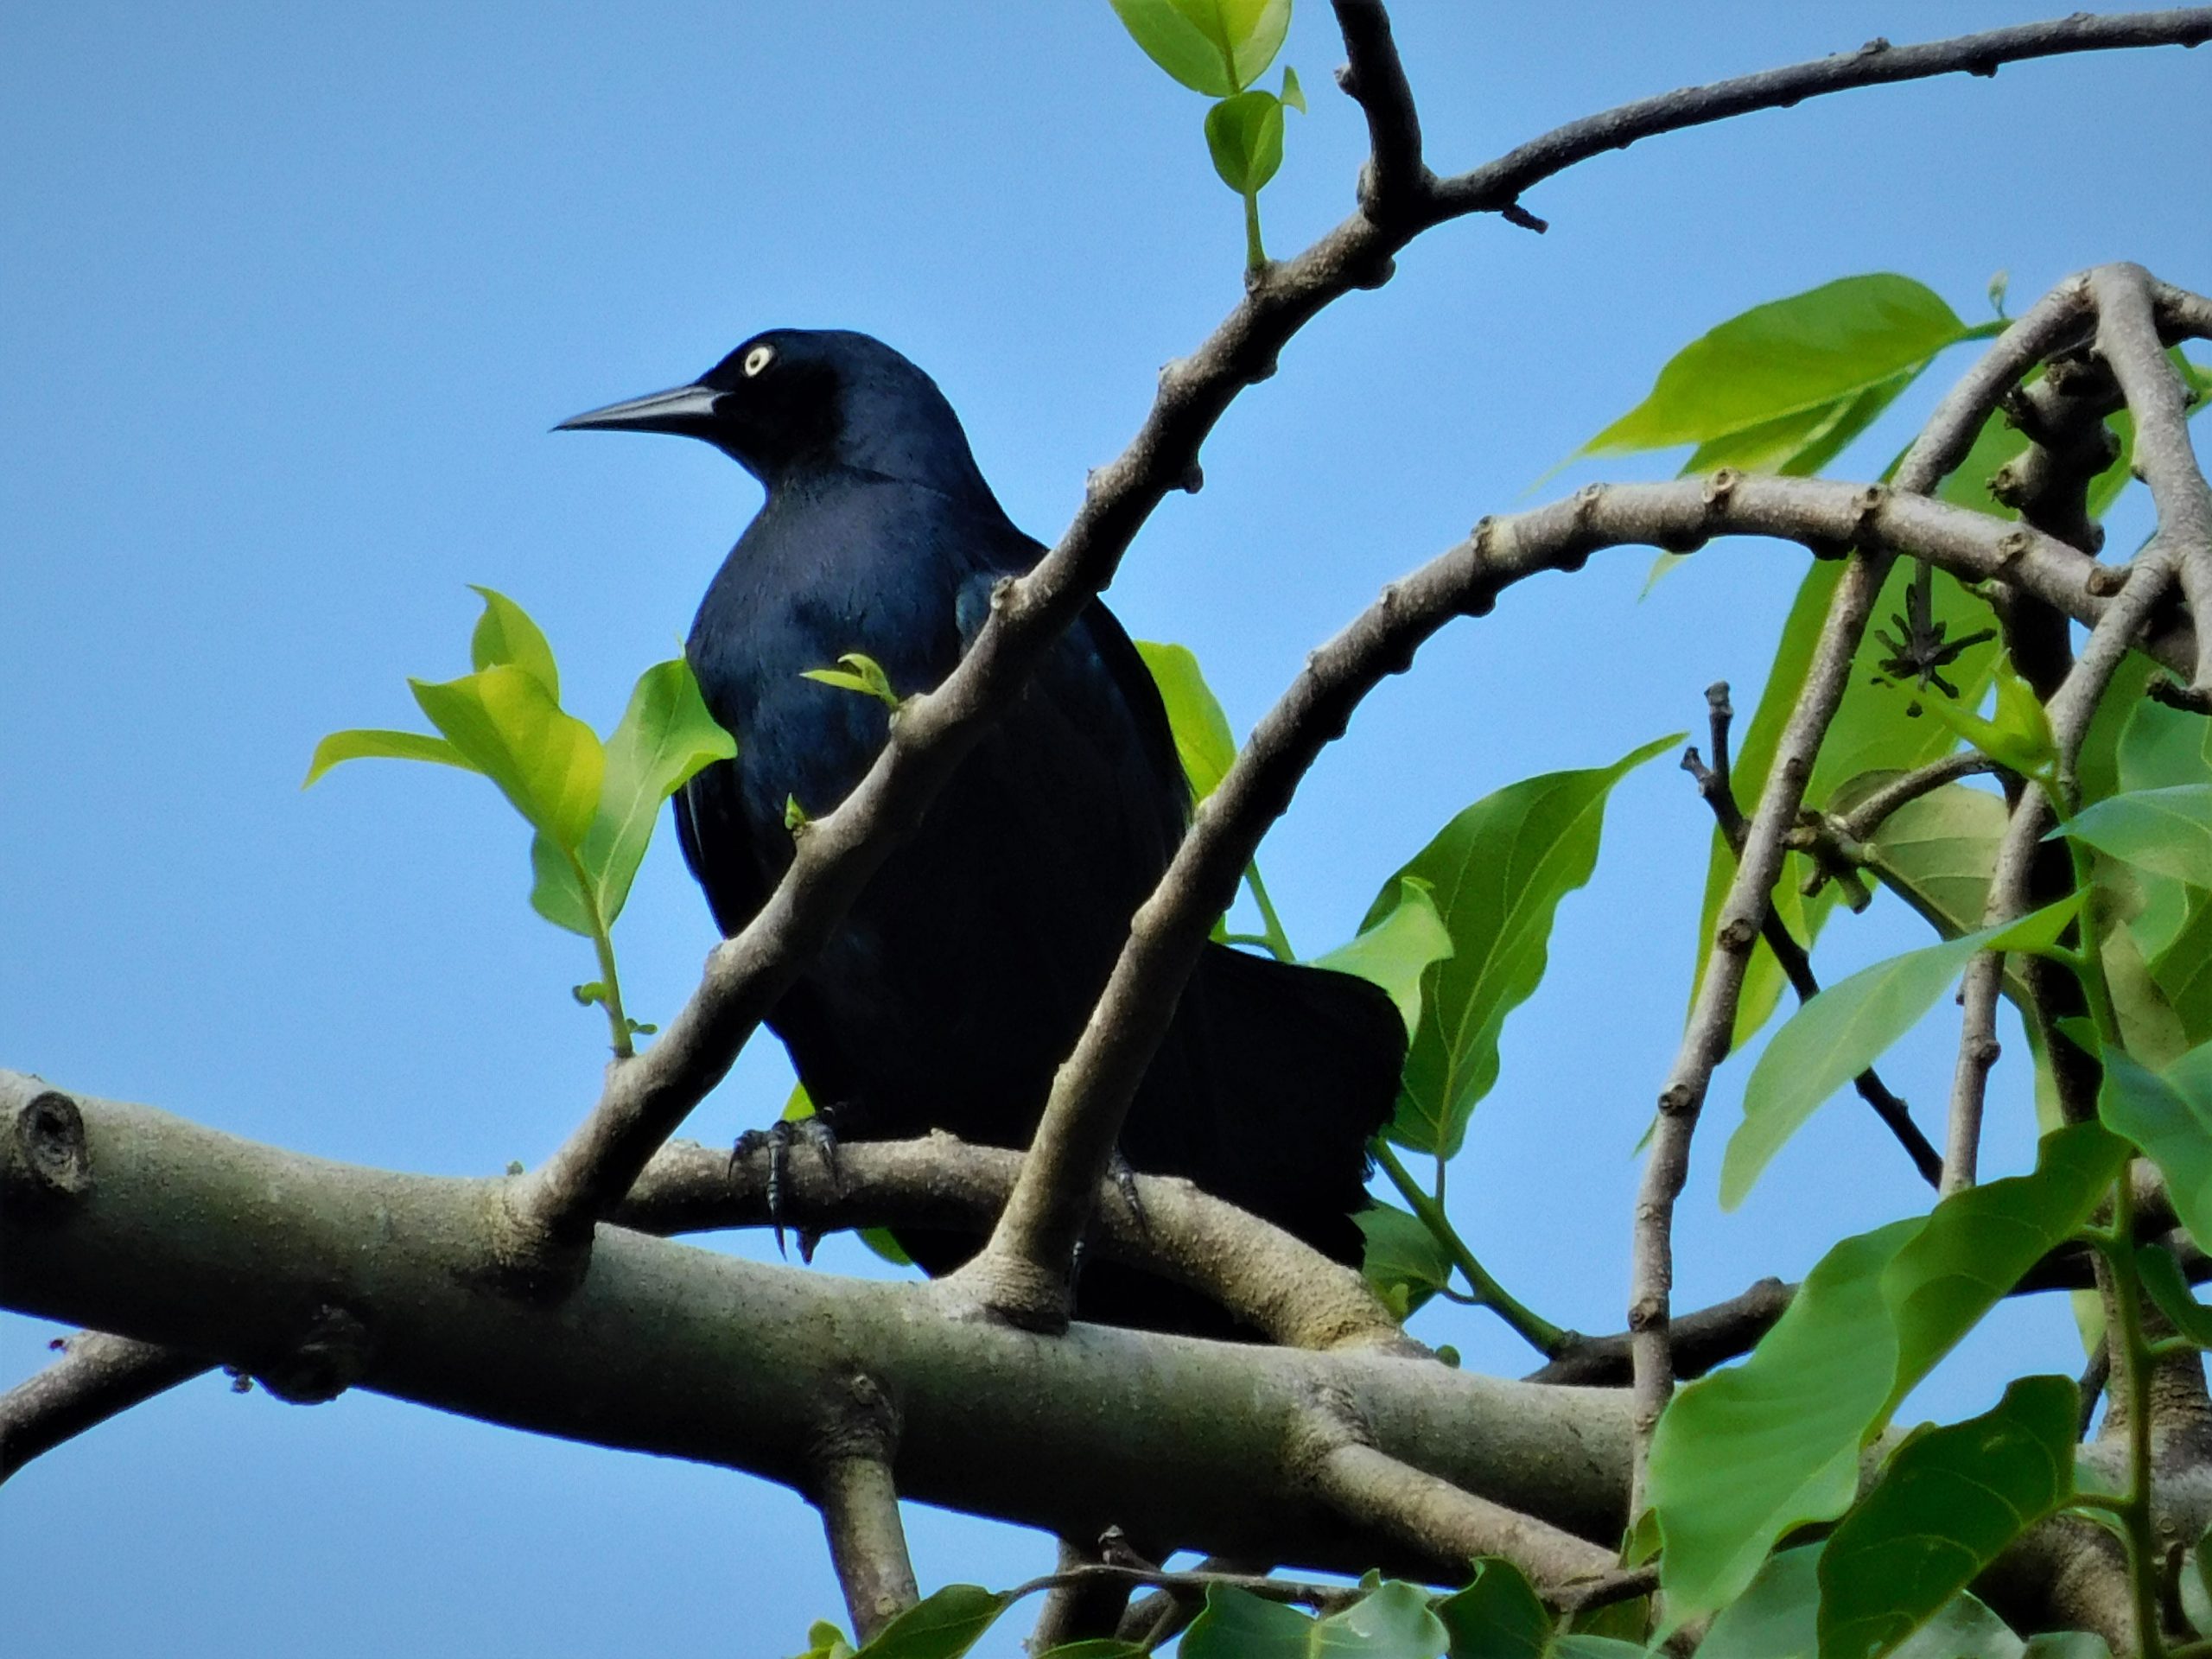
If you ask us, birds are extremely photogenic, their colorful plumage with the vibrant backdrop of the blue sky or the luscious green forest make stunning photographic prints worth displaying on your wall! Capturing them in the perfect shot however can be a challenging mission. Let’s face they are fast moving, they’ll see you coming miles away, they are great at hiding and most do not like you get too close to allow you to take their portraits.
So what can you do to capture that perfect bird portrait?
Firstly, the more you understand about the birds you are trying to photograph, the easier it becomes to take the perfect picture.

The Equipment
Let’s face it, as with everything the better equipment provides better outcome, but only if you actually know how to use it. Birds photography is much more than just the camera or the lens. There is no denying that a longer lens makes it easier photograph birds that are skittish. But the lens itself won’t take a great bird photograph. So whilst it is easy to get hung up on equipment, it really doesn’t matter what kit you own. It’s still possible to obtain rewarding bird portraits with most gear.
There are some functions, that are pretty standard on today’s cameras that will help you, such as continuous autofocus, mid to high speed burst mode, image stabilisation and multiple focusing points. Master them!
The other point to consider is a good lens. There are several limiting factors when this comes into mind, one is the price tag, as it can be hefty. The other is the place you are going, because you wouldn’t necessarily want to carry heavy equipment with you in the field all day long and some countries may not even allow some equipment. So what should you consider?
Most modern lenses are of very high standard with excellent image quality, so you don’t need to break the bank to buy the latest and greatest gadget. Zooms are great as they provide flexibility and are especially useful when photographing different-sized species from a fixed position.
Image stabilisation, or vibration reduction, is a key feature of most modern long focal length lenses and where possible you should try to get a lens which has it. The maximum focal length of the lens should be at least 300mm. You can increase your focal length without spending a fortune by buying a camera with a cropped sensor or investing in a teleconverter.
Get Close and Personal Ok, not too personal! But definitely close, because every bit of distance between you and the bird reduces clarity. So what can you do to get close to your bird subject? As Bruce Hargrave detailed in his expert advice, you can use field craft, the art of camouflage, stealthy walking can take you closer to your subject, but the best thing is to know the habits of the bird you are trying to capture through your lens.
No bird callers, no bait, nothing like that is allowed! I am talking about learning about the birds, their habitats, setting yourself up in their area and wait, patiently! Best to be laying down or seated and try to stay as motionless as possible. This way you appear less threatening. Once in position comes the hard part, patience! Just wait for that shot…
A knowledge of birds and their approachability provides a good foundation to help you in your quest, which is easy to learn over time in your own backyard. But what if you decide to venture afar to capture unique and amazing bird species on your camera? This is when an experienced local guide will come in handy – cuba travel.
They know their area and their birds like the back of their hands and can provide great insights and tips on your birding tour.

The Light
It goes without saying that lighting is fundamental to any photograph, and for bird portraits there are a few things to consider since it is natural light that you have got to play with.
Feather detail is an important aspect of a good bird portrait. You want to be able to clearly see the colours and detail in the bird’s plumage, and of course the lighting conditions play a part in this. If, for example, you photograph a black-and-white warbler on a bright sunny day, with the sun high in the sky, it will be difficult to render good detail in both the black and white plumage because of the very high dynamic range. As a result, you’ll be lacking detail in some areas.
Shoot on an overcast day, or when the light is softer, and the dynamic range is reduced by several stops. This means that the entire range of tones can be recorded.
Make sure that you know your camera and try to photograph in lighting conditions that will allow you to capture a full range of tones. You can easily check this on the histogram.
Bright overhead sunlight also creates shadows, this ruins a bird portraits. Aim for your shoot to be at either end of the day when the sun is low, meaning there are less shadows and warmer tones. Not to mention, these are normally the times that birds are more active also, so you will get a lot more portrait subjects available for your photoshoot.
The direction of sunlight is also a factor and generally it is preferable to shoot either with front lighting or backlighting. Side-lighting tends to be less effective for bird portraits, often throwing a shadow across part of the bird’s head. Front lighting is best for bringing out the colours in a bird’s plumage and will produce a more evenly lit portrait. It also makes it easier to expose correctly as the contrast is lower.
Backlighting can also be very effective for bird portraits, especially those with a clearly defined and recognisable shape or plumage that picks up sunlight to create an attractive rim lit effect.

The background matters
I always feel that the background or surroundings are as important as the subject itself when trying to create a good bird portrait. After all we want to make sure that the bird stands out and the natural beauty is highlighted. So what makes a good background?
Anything that doesn’t distract from the bird, like hot spots, bright background, same color background, too much being in-focus these are all things that could be considered a distraction and therefore reduce the overall quality of the photograph.
Branches or stems of vegetation that cut through the bird or even create a line taking the eye away from the bird in the background can be very distracting.
If you like very simple out of focus, diffused backgrounds, then the best way to achieve this is by using a long focal length lens and a wide aperture. This combination reduces depth of field so that only the bird will be in focus with the background and surroundings thrown out of focus.
Usually, it is best that the background is lit to the same degree as the subject. Try to avoid a situation where the bird is in shade and the background is brightly lit. However, the opposite can be very effective where the bird is in the lime-light and the background is in shade. This adds a sense of drama to your portrait and makes the bird pop.

Camera Settings
Try either Manual or Aperture Priority (Av) are the most useful camera modes when shooting bird portraits.
Shutter speed is very important when shooting birds as they tend to move a lot and quickly. Whilst it is possible to obtain sharp images at shutter speeds of 1/30th second or slower, setting a shutter speed of 1/250th or faster will mean a lot more chance of sharp shots of birds, even if they move.
Achieving an appropriate shutter speed may mean that you have to increase the ISO setting, but most cameras can easily cope with ISO 800 and some up to even ISO 6400 without introducing any significant noise.
Also mentioned the use of Continuous Autofocus mode, it’s great as focus is automatically tweaked if the bird moves. The downside to using Continuous AF is that the focus point must be maintained at all times. For precise focusing, switch to single auto-focus point mode and select the point that corresponds most closely with the position of the bird’s eye in the frame. This makes it far easier to maintain focus without the need to alter the composition.
If your camera has Continuous Drive mode (most do), then switch to it. It’s a good idea to take shots in small bursts, even of a fairly static subject, as the bird may blink or move its head very slightly between shots and this then ensures that you capture a great pose
Of course taking the picture is the first step, your next will be to process the RAW file and turn it into something truly spectacular, but will leave that to another blog.
In the meantime, all we can say is, have fun, practice, enjoy, and remember – technique will always outsmart equipment!
Ready to put your skills into practice? Why not join one of our bird photography tours and build a stunning portfolio of the endemics of Cuba?


