
Picture the scene: you’ve been on the road all day, and you arrive at the place you’ve dreamed of visiting for years. The conditions are perfect – its late in the afternoon, close to golden hour, the warm air is clear, and incredibly there’s hardly anyone else around to muddy the view. Pulling out your camera to capture the scene for eternity, you get off a few shots before noticing a flashing red light in the view finder or LCD screen – the low battery indicator. Before you can process what this means for your long awaited photo session, your camera dies. No power. Nothing…. Any more chances of capturing this beautiful scene are gone…..
This fictitious anecdote (which I imagine could be triggering for some!) is the basis for my first tip for travel photography, which in fact comes in two parts
- Make sure your battery is charged before you start each day, and
- Invest in a second battery which is always charged.
Not sure about you, but if this happened to me, I’d be devastated! A spare battery is definitely one of the non-negotiable items of my camera kit.
As to my other general tips for travel photography, here’s what I can offer from my discoveries over the last few years, listed in no particular order:
Get to know your camera before your trip, especially if it’s new
-
- For any camera model there are many YouTube videos which can help you learn
- Learn basic functions, what the buttons and dials are for, if there are any shortcuts, etc
- Try and use your camera a little around your home before you depart to take experimental shots.
- Practice, practice, practice
Take some time to learn the basics of photographic composition, and practice these before your holiday begins. Some aspects to consider are:
The rule of thirds:
picture an equally divided 3 x 3 grid on your image frame and place the subject of your photo within that grid. For example – placing the subject where grid lines cross, keep the horizon in the lower third, or place the subject who is looking towards one side of the frame a little off centre of the vertical third lines.
Foreground/background interest:
if there is a tree or leaves or a piece of street furniture in front of your subject, use them to frame the subject – this technique adds interest to the image. For background interest, try a low f-stop (wide aperture), choose a monotone background behind a single subject (person or animal) and make the subject pop with that blurry single tone backdrop.

Angles:
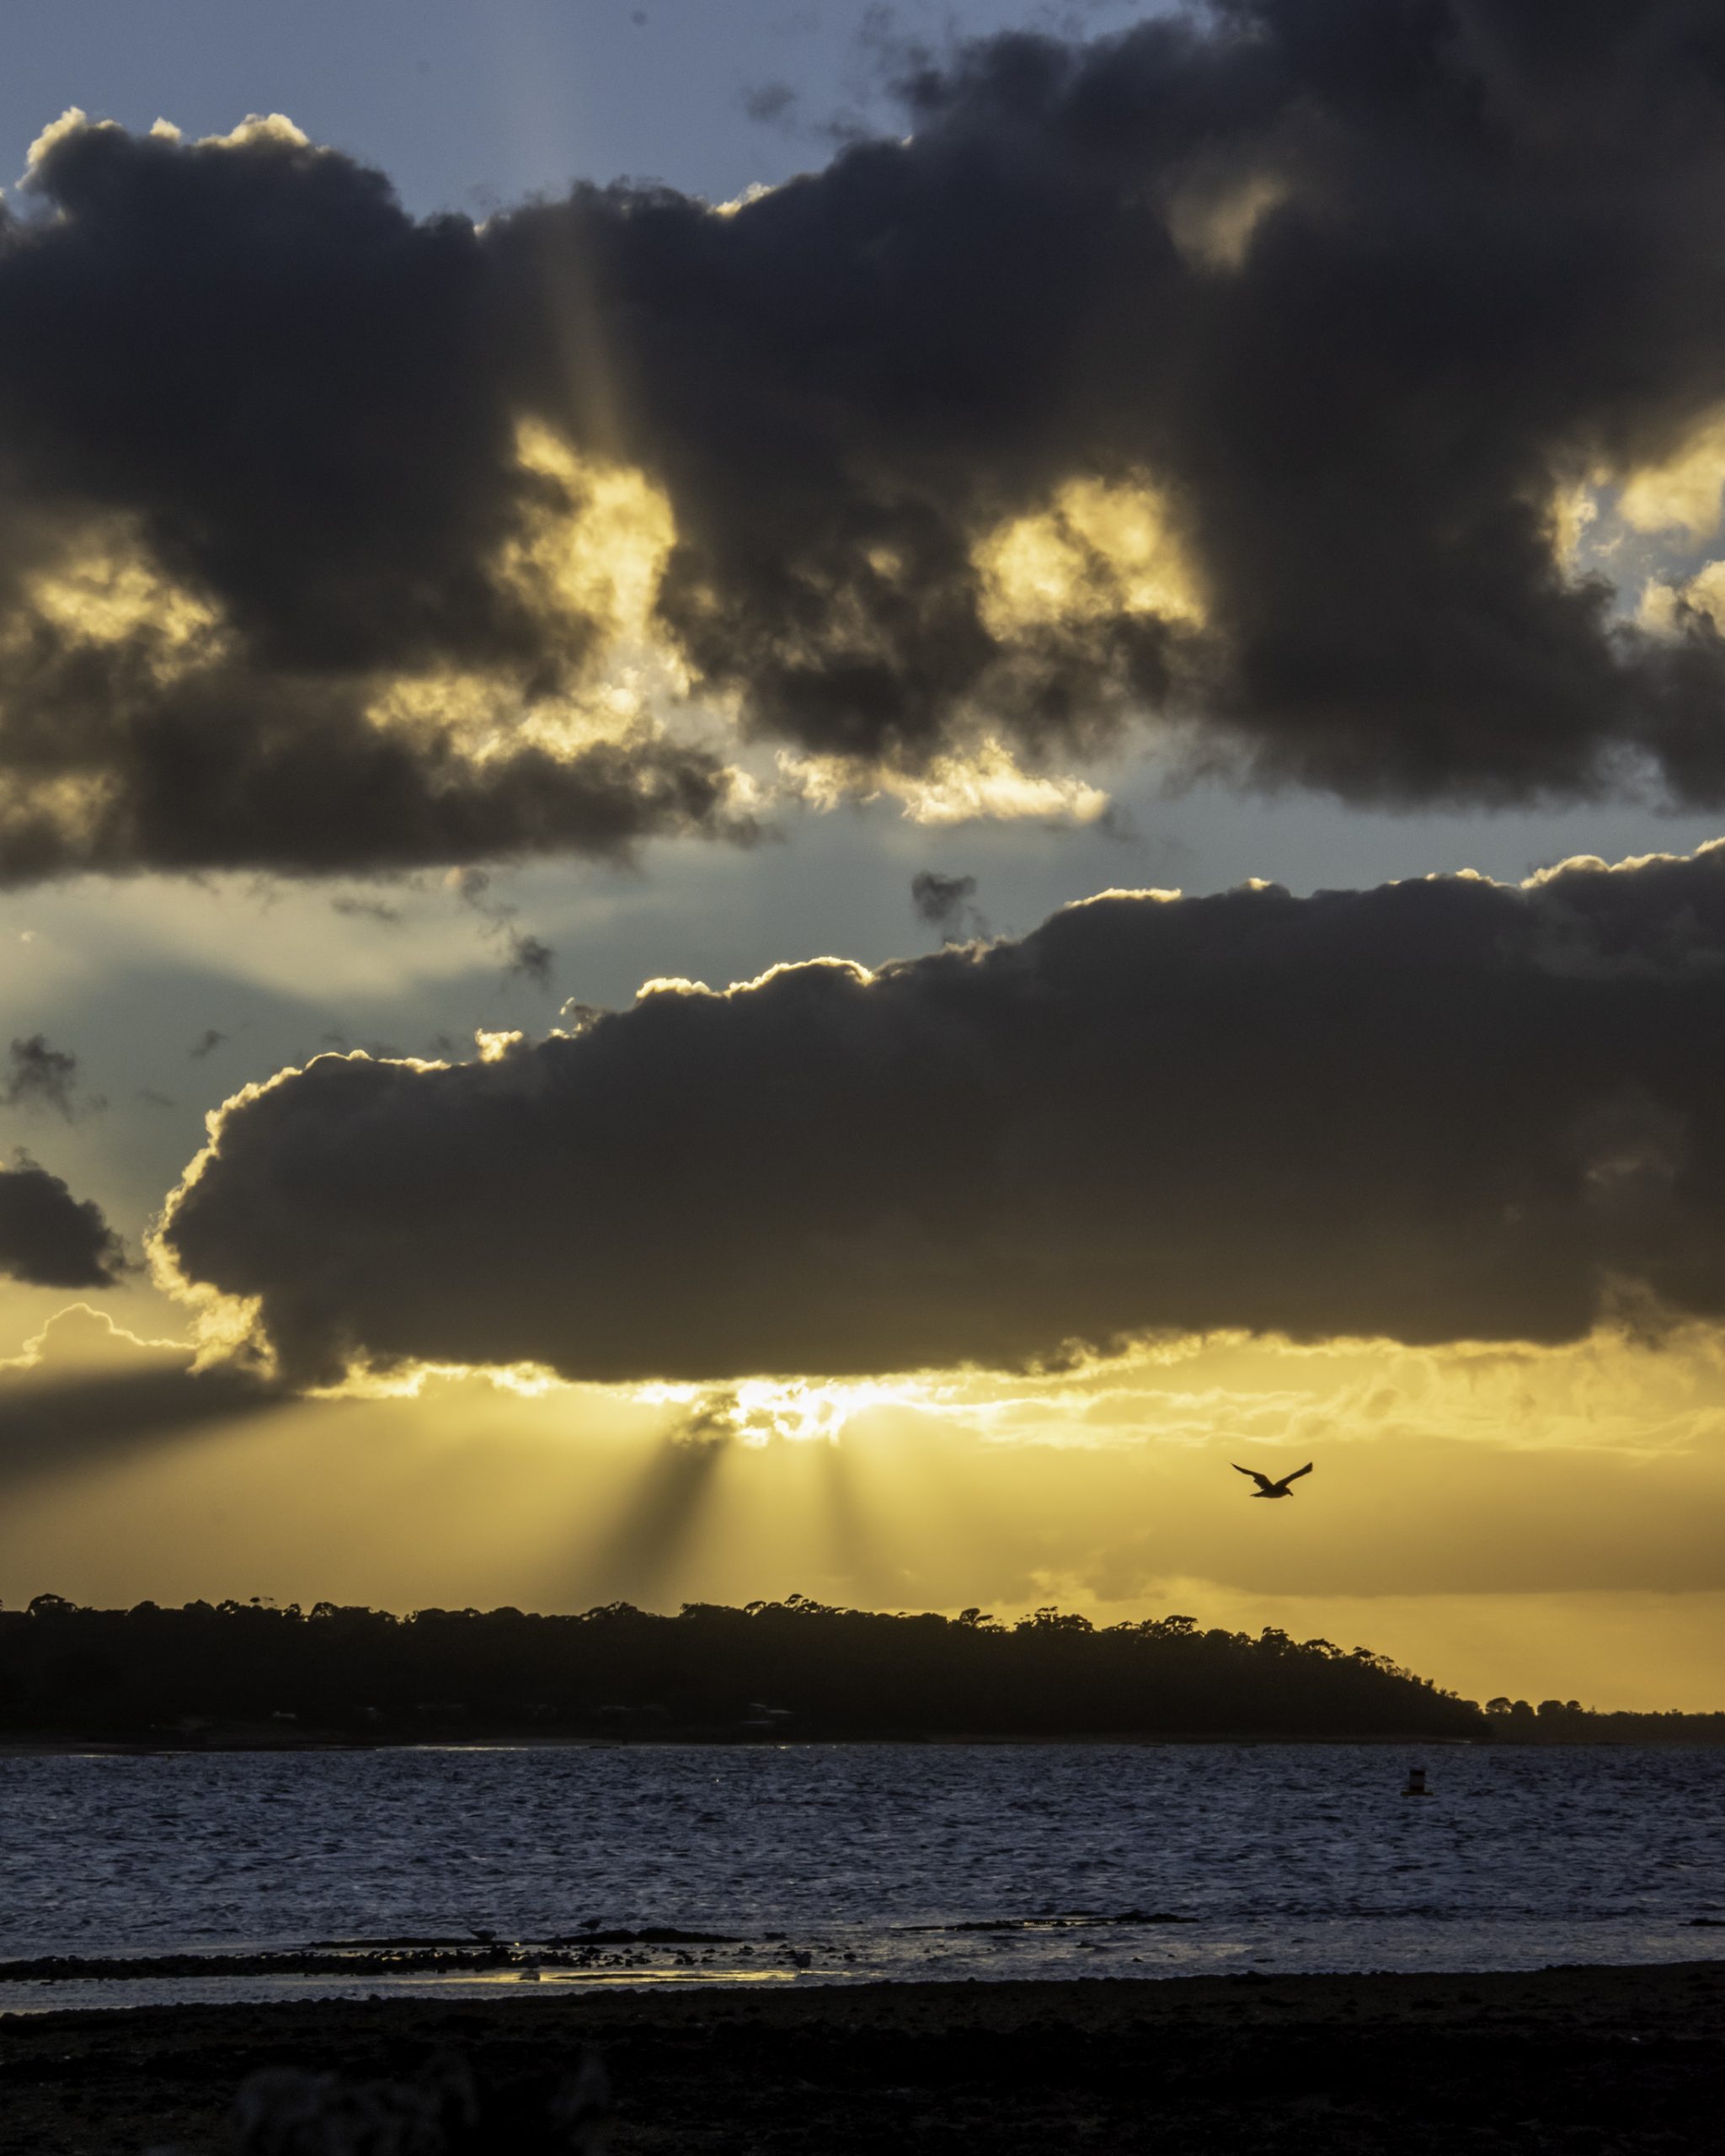
get down low if you can for a different perspective of a standard view or try high up depending on where you are. At the same time, try not to get too much sky in your image, unless the sky is an incredible sunset.
Reflections:
from puddles, lakes, bodies of water, shiny/mirrored surfaces – these types of images can be breathtaking and unusual if done well. Of course, this may require you to get down low to the ground!


Leading lines:
for example, roads, fences, lines of trees, archways – use these elements to draw the viewer to the focal point on the image. You may want to photograph an unusual house at the end of a driveway, or a person standing on the end of a jetty.
Keep your horizon straight:
this is one of my pet peeves. Honestly, it’s not hard to keep your horizon straight, and if it’s slightly off level, try and straighten it in an editing program.
Utilising a first-person perspective can be powerful to demonstrate the size or scale of your subject.
- For example, having part of your body in frame in a wider landscape image (think those shots of legs hanging over Horseshoe Bend canyon in the US).
- Personally I‘m not a fan of the ‘pose in front of the tourist site’ shot to prove you were there. I’d much rather a well framed and composed shot of the site/object, than a candid one on your phone with a travelling companion. But if that’s your thing then go for it – photography is what the photographer makes it to be


Taking photos of locals can be a wonderful and powerful way to capture a culture at the time you visited – the interesting faces, intricate costumes and insights into a community can be life changing
- At all times be culturally aware of your subject – it never hurts to ask permission to take a person’s photo, and in many cultures, it is rude not to. Make sure you or your guide know the rules before you arrive
- Beware the scammers though – the ones who approach you for their photo then try to extract money from you for the privilege.
It might sound obvious but try to make your images interesting.
- If you have time, wait for the person on the bicycle to ride past the colourful wall, capture the cat sitting inside the doorway of the French café, frame that cute cottage from a different perspective to what everyone else is doing, keep an eye on the light to see where it will land or wait until the animal is looking directly at you (and focus on their eyes!)
- Awaken your inner creative energy to see a scene in a different way. It’s an energizing process to embrace your creative side.
Other practical tips I can offer the amateur photographer for travelling
- Make sure you have plenty of high-capacity memory/storage cards for your camera. Buy as many as you can afford
- Bring a powerboard (4 plug) to charge your camera batteries, phone and any other items you have with you, so you just bring a country specific adaptor and charge everything at once.
- Harking back to my first tip – invest in a spare battery for your camera – and make sure you have it with you and that it’s always charged!
- Optional extras: Consider investing in a lightweight/travel friendly tripod. A wireless or long cabled remote for your camera.
Would you like to learn more from Kate?