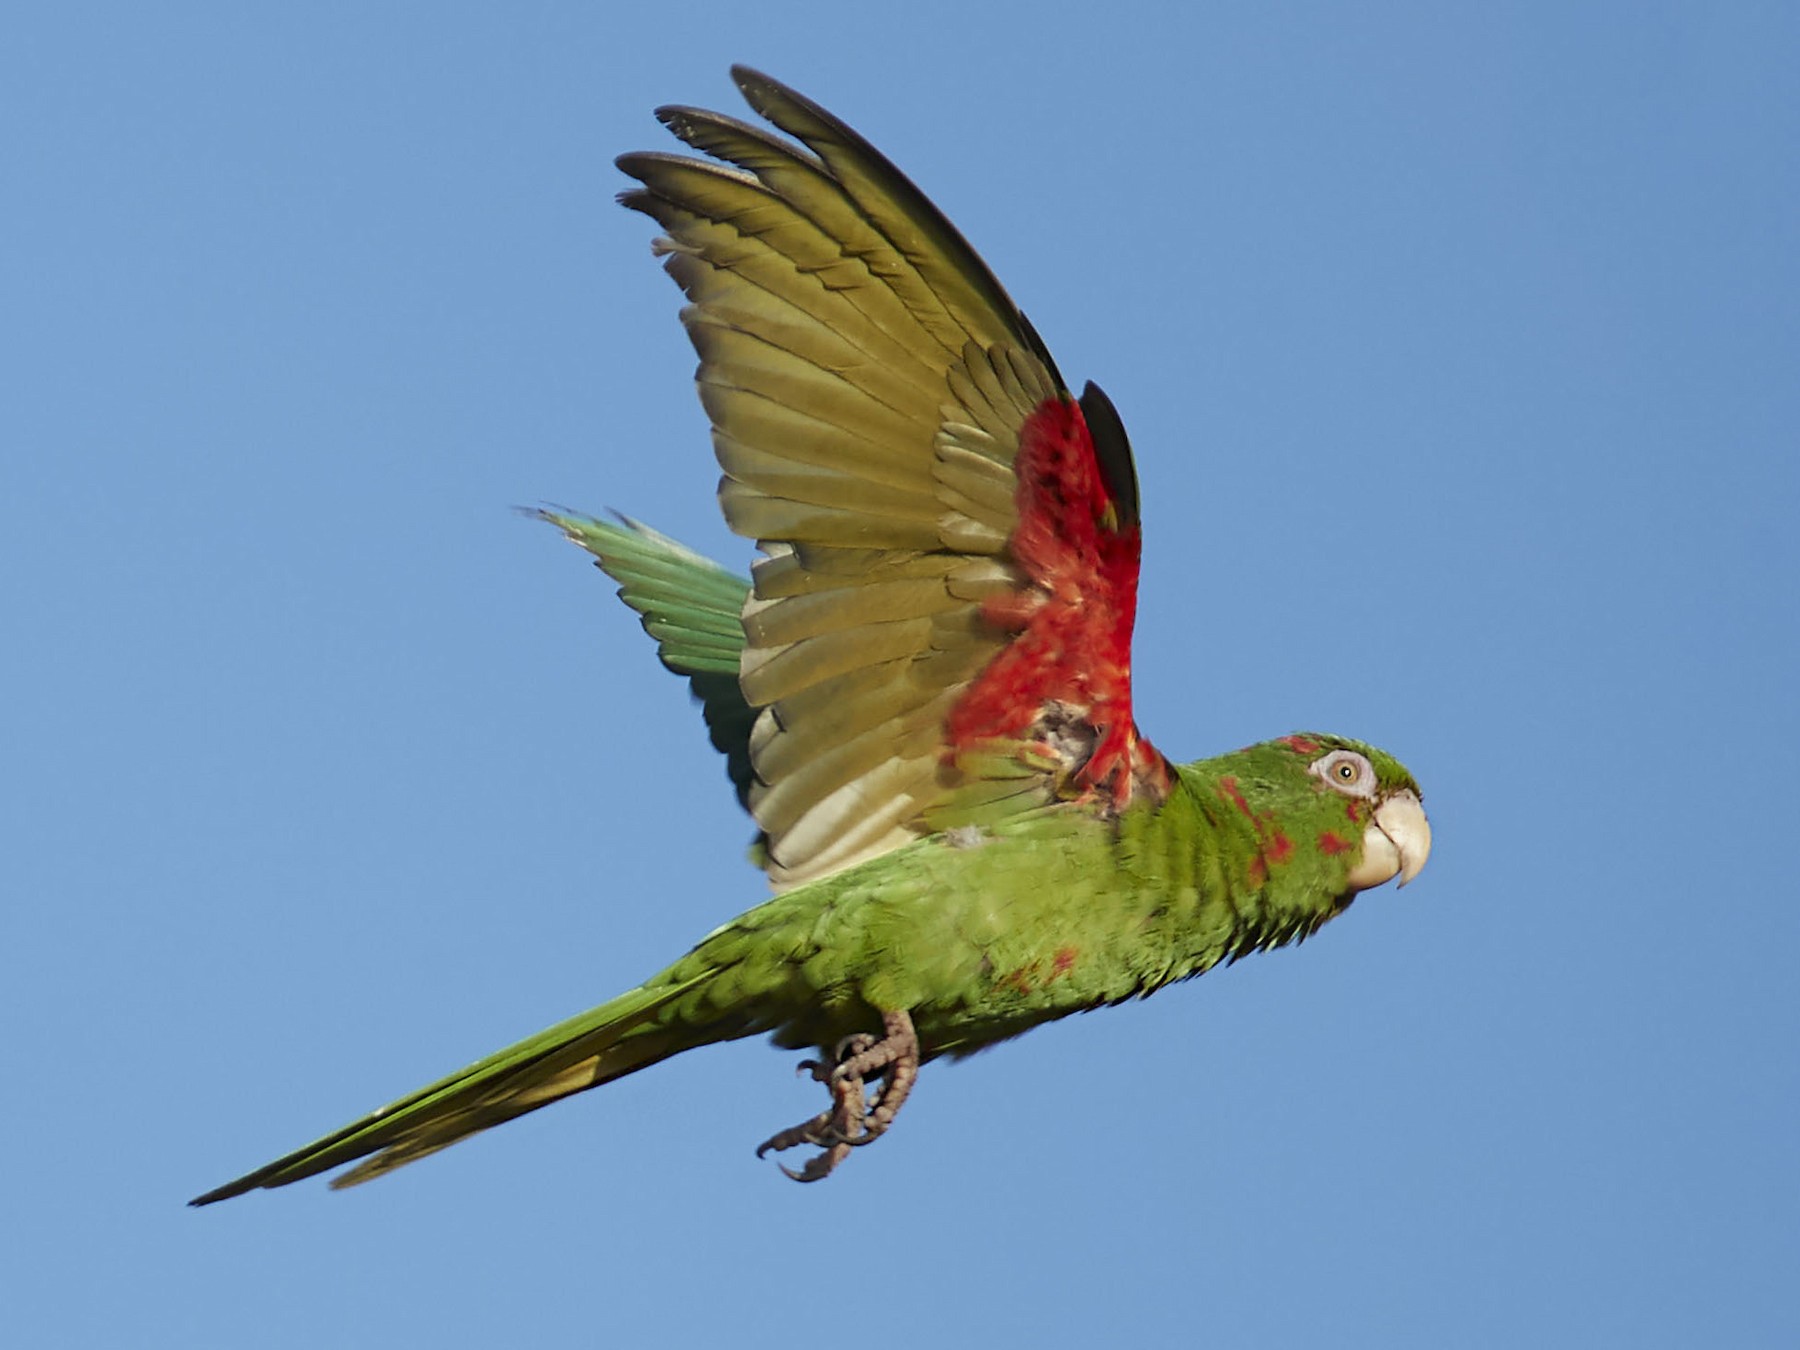
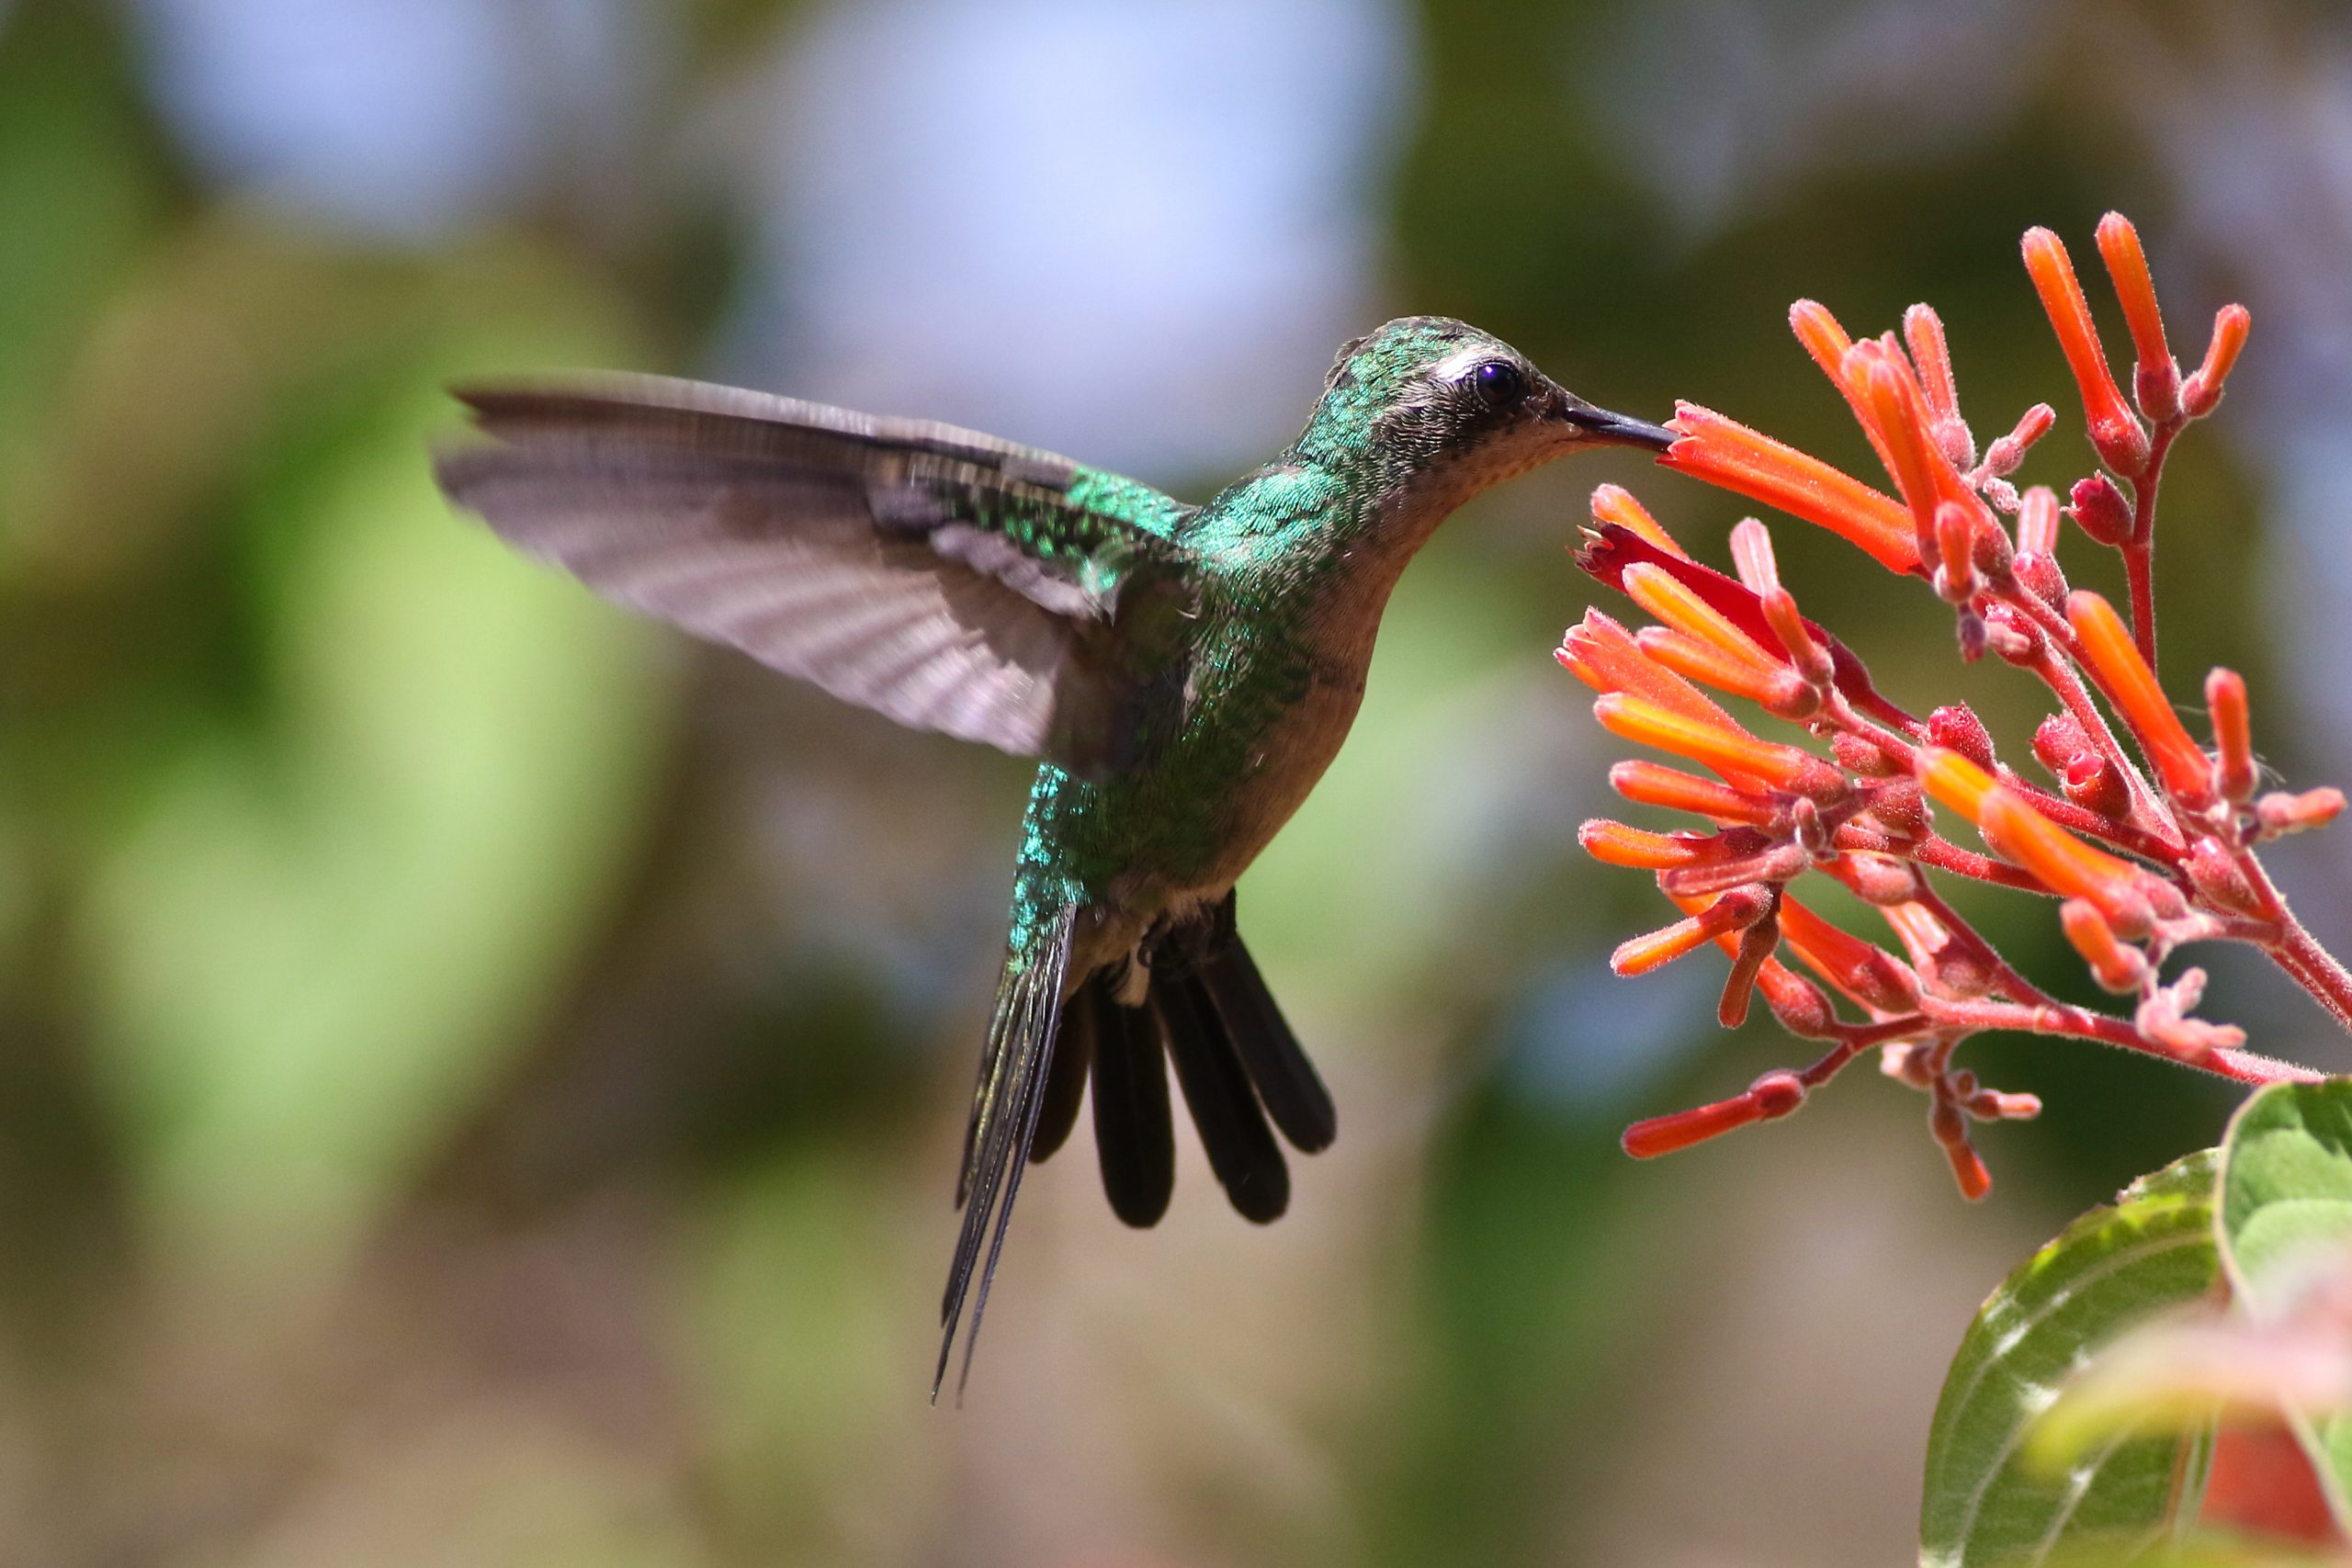
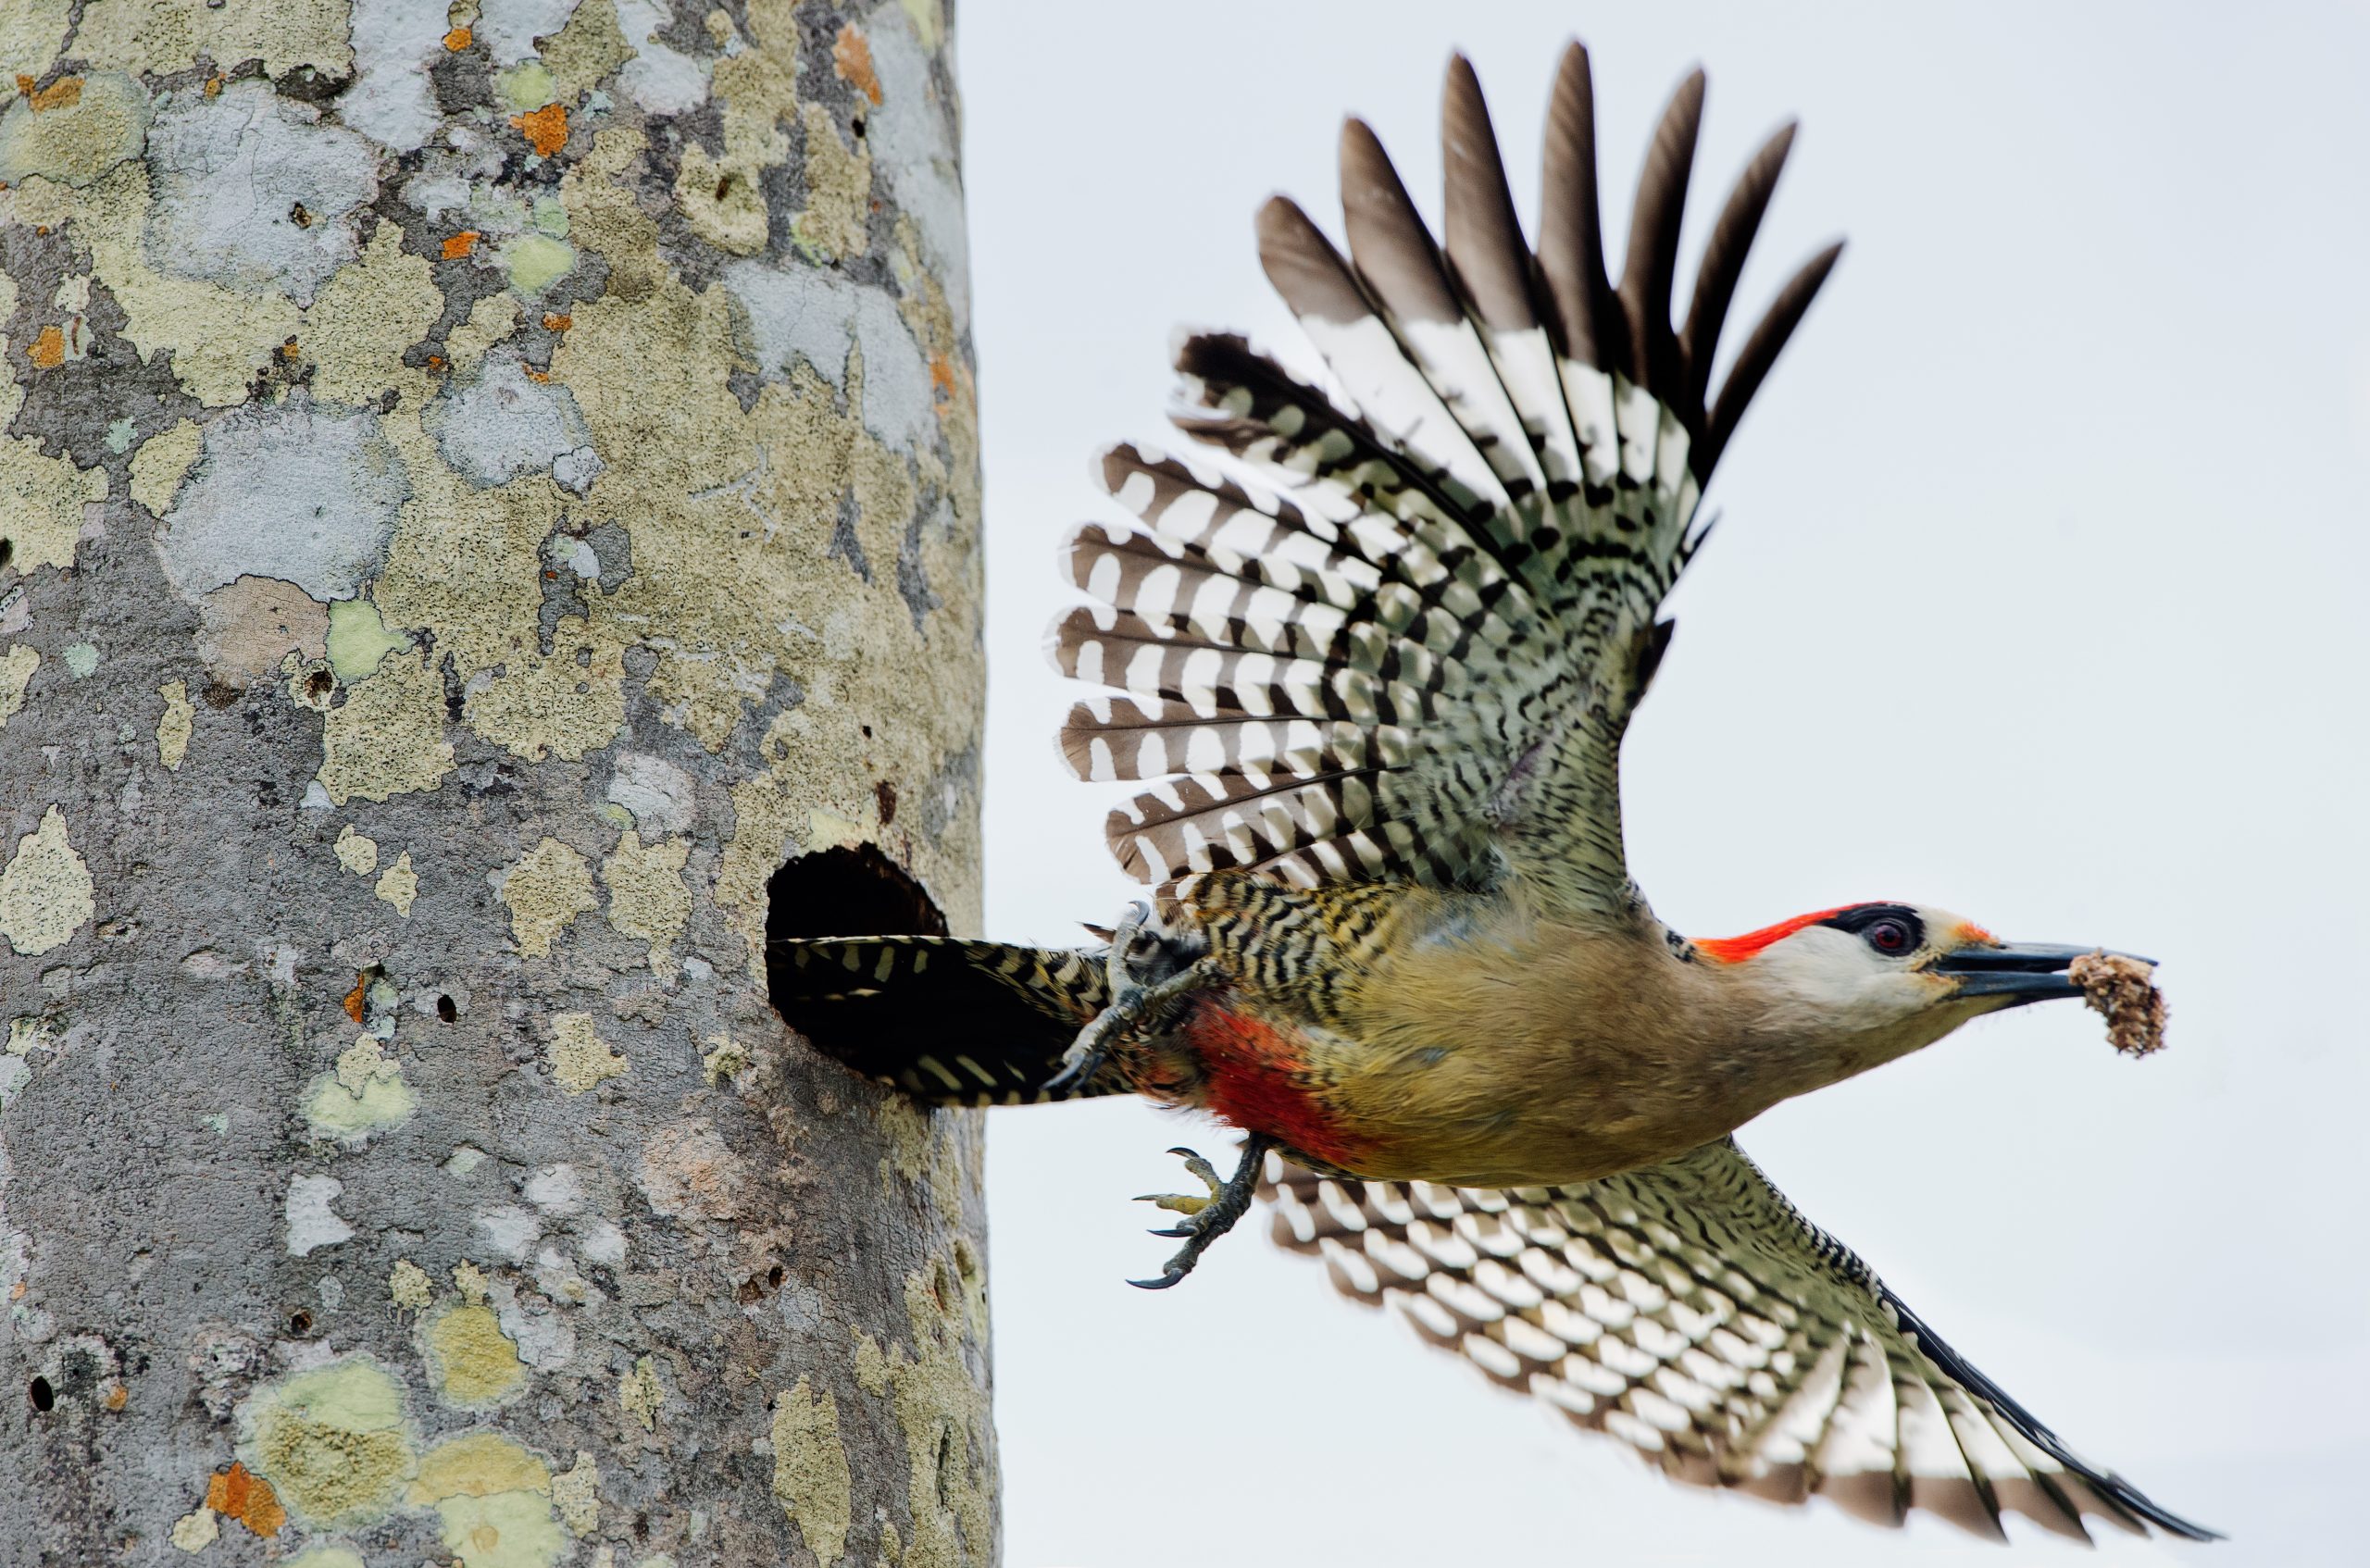
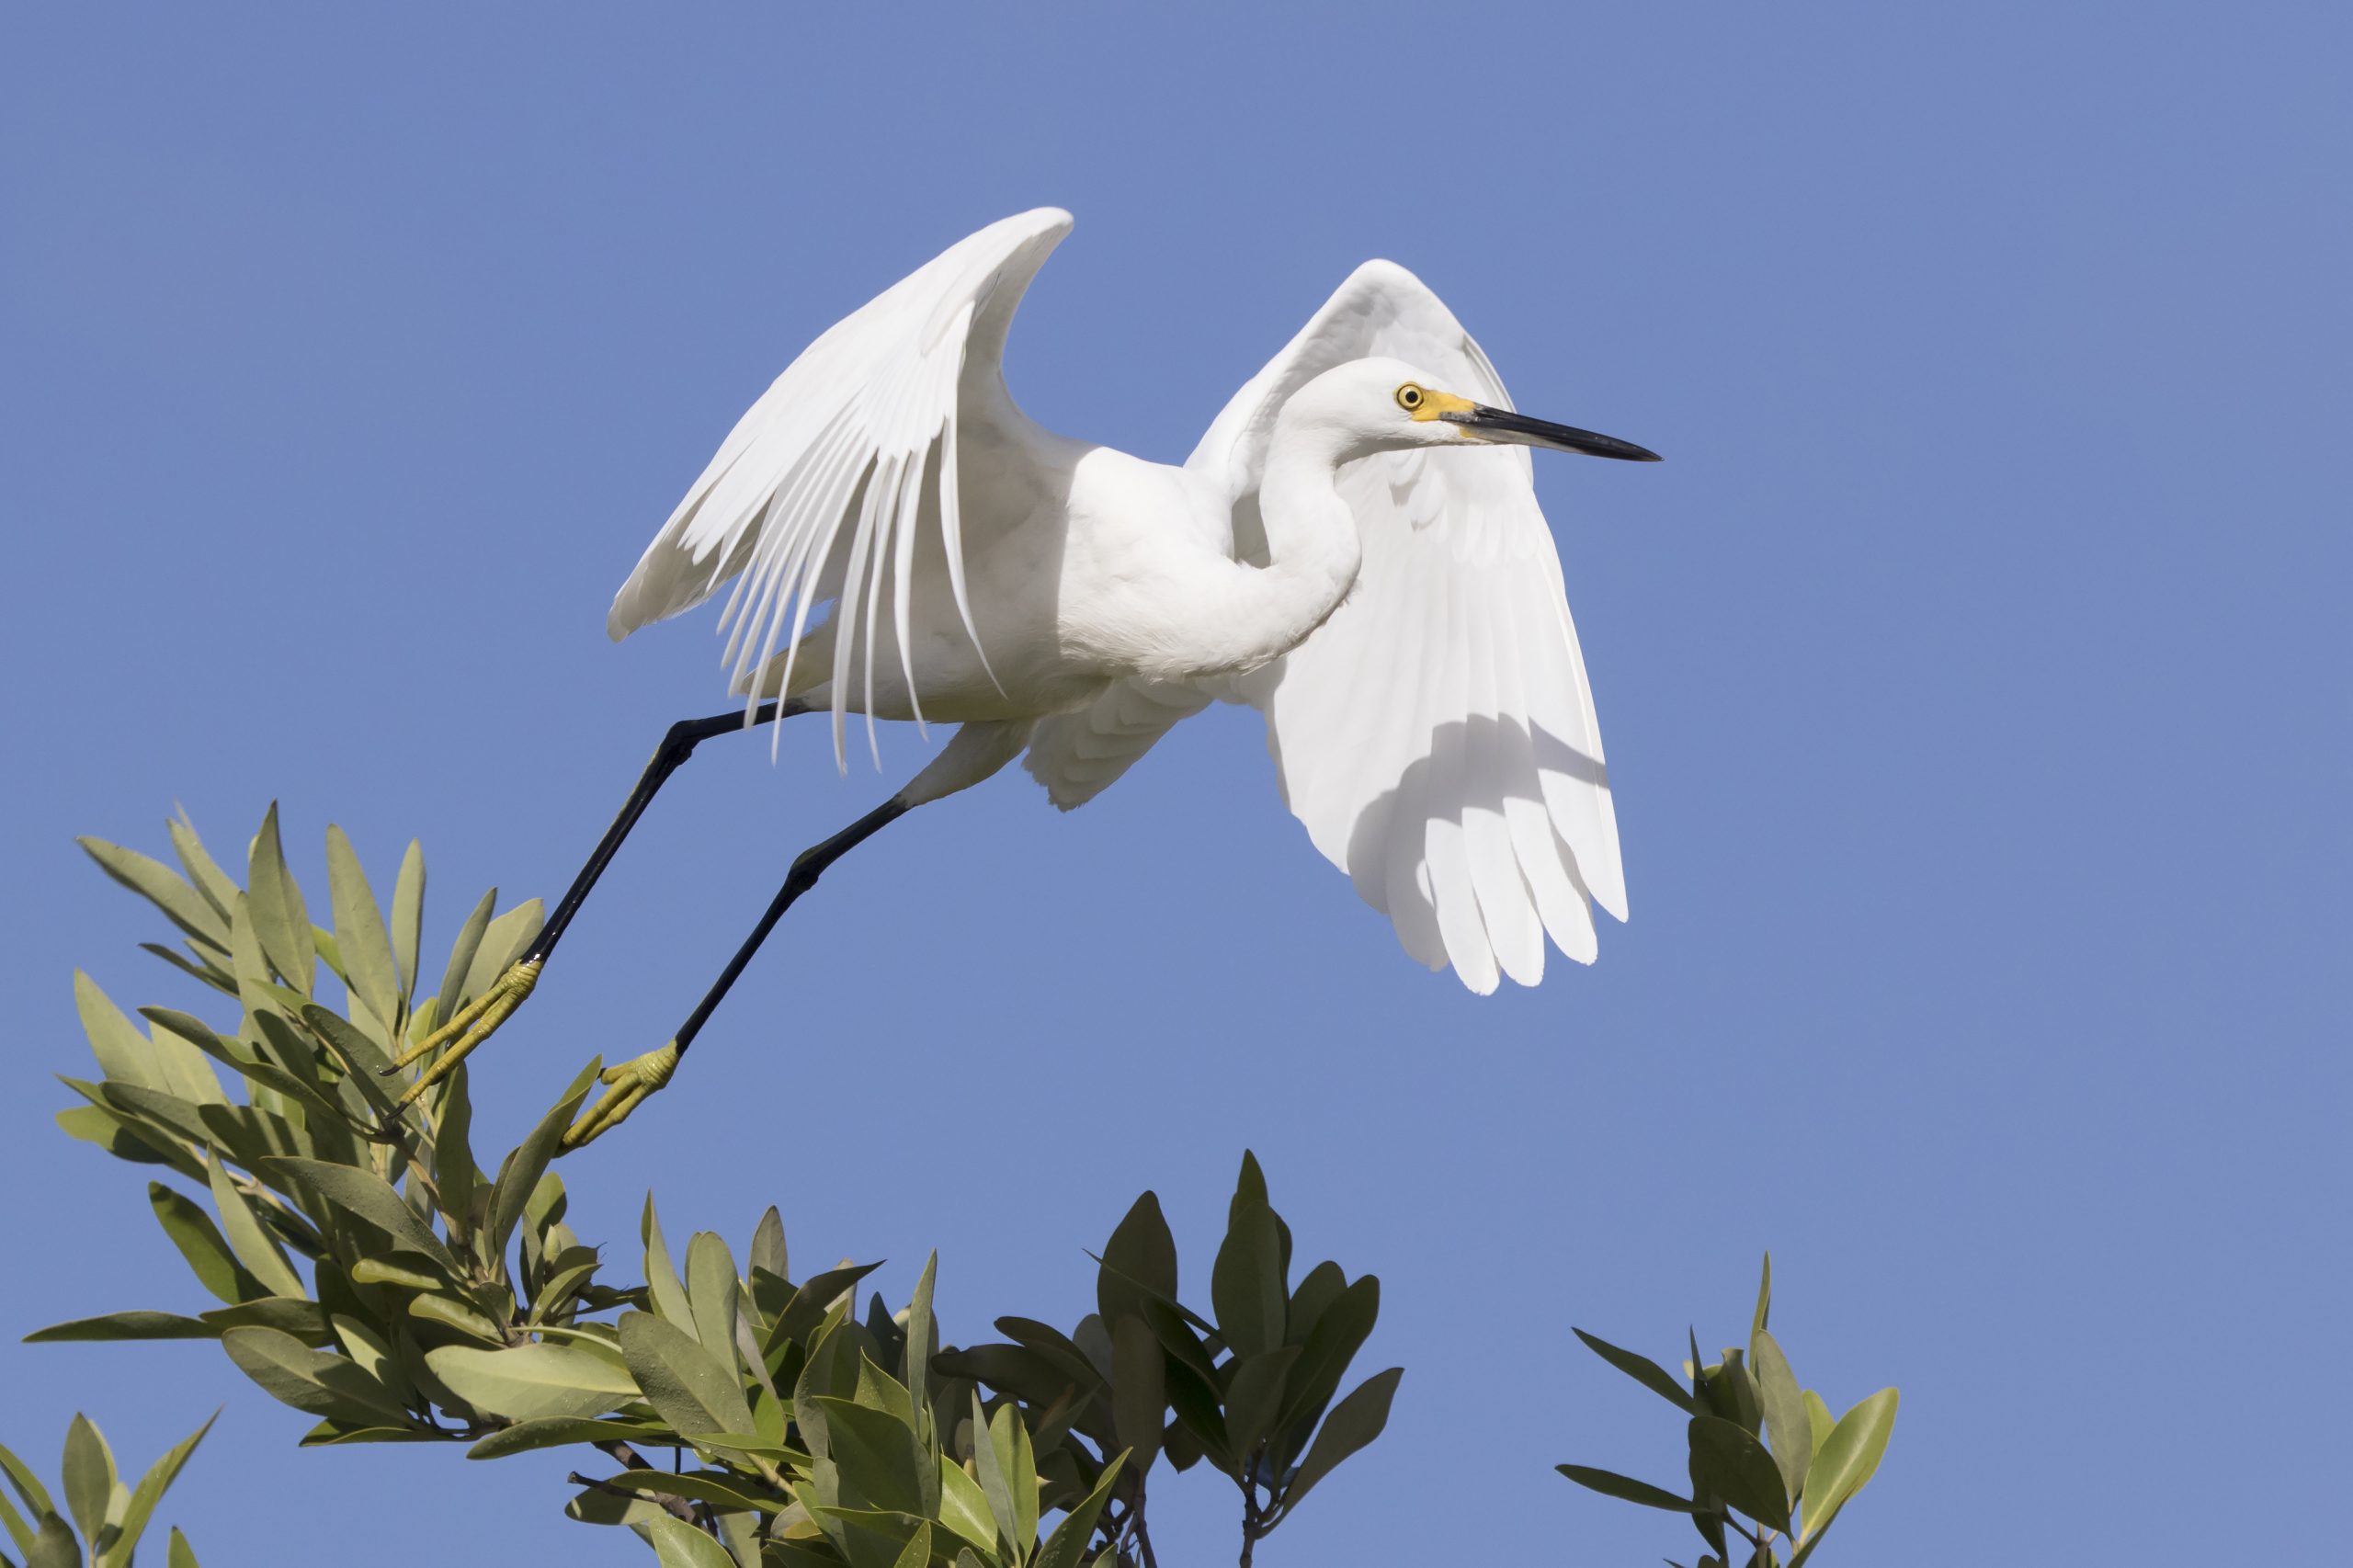
Like all bird photography, capturing an amazing picture of birds in flight takes patience. It’s not always easy to get that perfect shot. You may have spent hours in the field in the same spot trying to get that one shot just to find that it turned out too dark or your camera battery died – so what can you do to set yourself up for success in capturing a bird in flight through your lens?
The first thing to consider is to have spare batteries, SD cards on hand along with your camera and lens being maintained well. Half the battled then there are many factors to be considered and utilized to get a great flight shot. I’ll share some of those today.

You may think it’s all about the equipment, and whilst that can be helpful it’s more about setting the short up and knowing how to use your equipment well to capture these beauties. When it comes to the equipment there are a few things to consider when you are traveling far and wide to take photos of birds around the world. Things like, where are you going to? Can you take all the camera gear you’d use at home with you? Is it too risky? Will they let it into the country you are visiting? Once you are at the location, how far will you have to carry your camera gear with you? Will that tripod really be worth the weight and distance you need to carry it for?
The next thing for consideration is something we mentioned before, is knowing the location. When you venture outside of your normal birding area, it is well worth getting a guide at the location you are visiting. They will intimately know their area, things like flight paths, the birds that you will see, where their feeding grounds are and they can take you to spots you may not even known existed.
Now the fun begins! What to do when you are on location and ready to start snapping?

Set up the shot
Step 1 – Consider the natural elements
If you are going out specifically to shoot flight, consider that birds generally fly into the wind, so try to have the wind behind you to set them up in a position to fly toward you at an angle. This puts them in the best position for pleasing flight images: underwings showing and their heads in the lead. Birds fly much slower when they are flying into the wind, this makes them easier to track, and having the sun at your back illuminates them nicely.
Another helpful hint is that if they are further away, it is easier to track them as they fly.
Step 2 – Shoot against clean backgrounds
This helps the bird stand out, and it also helps your autofocus system as it performs best when you have little contrast, like the sky or still water. If this isn’t an option, remember that the farther away the background is, the better. A distant forest is much better than trees right behind the bird.

Consider your camera settings
Step 3 – Preselect camera settings
In most cases, shoot flight in Manual exposure mode and set your aperture and shutter speed ahead of time. Usually this means shooting wide open at the lens’s maximum aperture and using an ISO that allows for an optimal shutter speed. Your shutter speed should be fast! Pick the fastest your camera will allow.
If you are able to use optimal shutter speed and there is more light to spare, try closing your aperture from wide open to f/5.6 or f/8 for more depth of field and a better chance of getting all of the crucial parts of the bird in focus—the head, body, and forewing. Also set your camera to the highest frame rate.
When shooting birds against a white or very light sky, consider using the sky as the basis for your exposure and make it as light as you can without overexposing any parts of the bird. I commonly meter the sky and open up 2 or 2 1/3 stops.
Step 4 – Set your Autofocus
To keep your flying bird in focus, set your camera’s focusing mode to continuous focus.
In this mode, as long as you have the shutter button depressed halfway and are focused on the bird, the camera will continuously acquire focus as the bird moves.

Shoot!
Step 5 – Composition
The basic rules of composition remain valid for taking photos of birds in flight. You always want to have more space in front of the bird than behind it; a good rule is to have a least two to three times the space in front of the bird.
One thing that helps maintain this space is to place your focus point in the center of the frame and try to keep it on the bird’s eye. This method works really well on large-beaked birds, such as herons.
Step 6 – Practice!
The triple P definitely applies when it comes to taking photos of birds in flight – Patience, practice, perseverance. Practicing gives you the opportunity to hone your technique and become familiar with different autofocus settings, focus points and patterns, and what results you can get with them. This will not happen overnight, so you will have to try and try again!
Capturing the beauty of birds in flight is not easy. I hope this post has inspired you to get out your camera and start capturing the beauty of birds in flight. Join us on our Simply Birds of Cuba photography tour where our award winning expert photographers we’ll be teaching people just like you how to capture amazing bird images and create an unforgettable experience with some of the most beautiful creatures on Earth!


