Let’s face it when you are traveling overseas to capture amazing photographs, you don’t want to carry everything and the kitchen sink with you. There is too much risk involved with carrying pricy equipment, it can get lost or damaged on the way to start with. Not to mention it is heavy to carry it around everywhere with you. Best thing is to limit the gear you carry.
Sure, an external camera strobe can be a key piece of photography equipment, it can take your photos from good to great, but what if you are new to underwater photography, don’t have the set up, cannot justify the expense and as mentioned, don’t want to lug ell the stuff around? How can you still capture amazing photos on you underwater photography adventure without carrying extra lighting gear with you?

Plenty of recreational scuba divers and underwater photographers take amazing pictures with just their camera and housing. It does take practice and consideration. Luckily, visibility in Cuban waters is not an issue!
It makes underwater photography in Cuba truly amazing. You can capture some of nature’s most majestic moments in a way that most people will never see. You can share nature’s story through your lens and open your audience’s eyes to the beauty of marine life from a perspective that those who don’t SCUBA dive will never be able to experience.
Here are our tips on how to bring your version of Cuban waters to life!

Buoyancy Control
Funnily enough the first thing to consider for taking amazing underwater photos, has nothing to do with camera gear. It has all to do with your skills as a diver. It’s going to be nearly impossible to take really good pictures underwater until you are a pretty solid diver. You’re moving around, the fish and animals are moving around, the conditions are different underwater, you need to focus on air supply and your buddies. There’s a lot going on. So do yourself a favour, master this skill first.
Wearing the right amount of weight (in the right positions for you) for the dive and getting your breathing right are key factors to achieving buoyancy control. The third key ingredient is to get comfortable and relax. Let’s face it no good pictures come out of you being in panic state!

Remember the fundamentals
Once you got your buoyancy sorted, next step is just remember the photography fundamentals that you use above water to take amazing shots. The rule of thirds, composure, lighting, settings all play a big part – possibly even bigger in underwater photography. Get familiar with what the conditions may require, practice setting your camera up with ease so you don’t have to fumble.
Choose your gear
It doesn’t have to cost an arm and a leg. It just has to be right for you. In recent years compact underwater cameras have improved greatly to allow you to capture beautiful underwater photographs without the use of external strobes and other accessories.
Make sure that you choose a housing case that allows for use of the camera’s internal flash function, even better to choose a camera that will allow you to grow as you get better, and decide to add lights or other components later on.

Stay in the Shallows
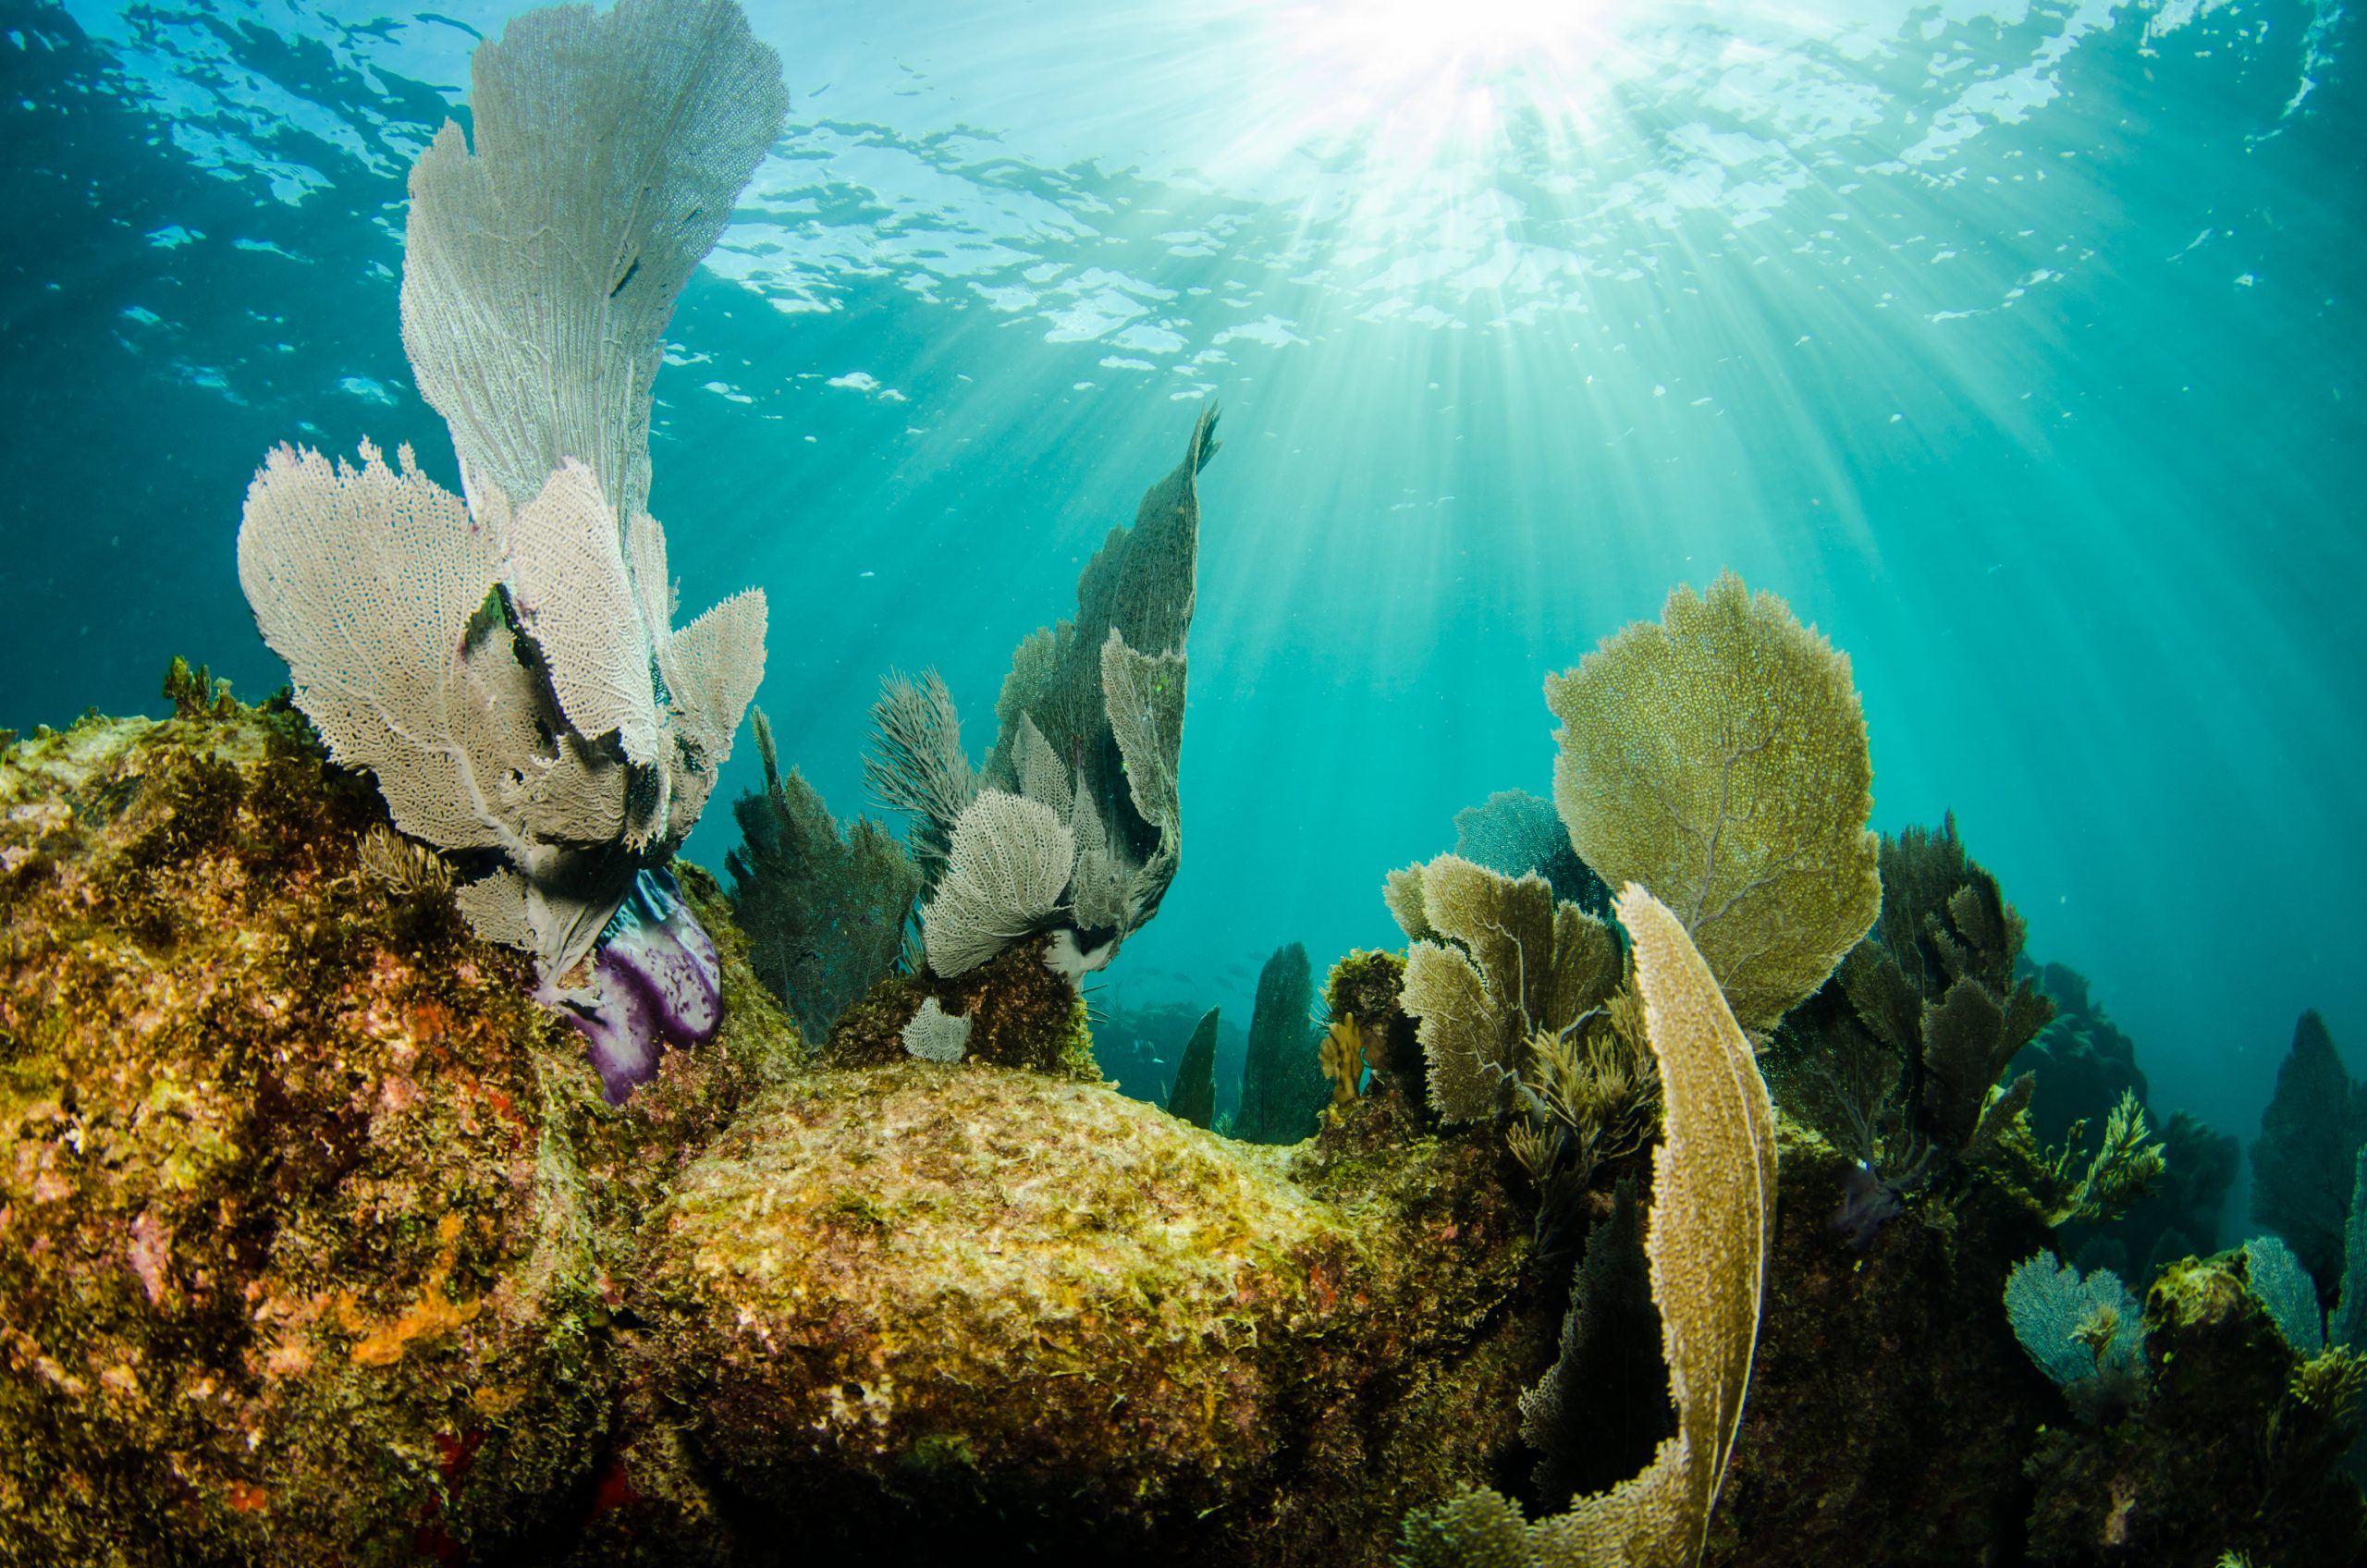
We mentioned this before, some colors don’t go well under water as they get absorbed by the water. To have a chance of capturing some color it’s best to stay in the shallow water. This also allows you a change to maximise the amount of sunlight and play with the rays coming through the water.
Consider the position of the sun
Afterall it is your single light source. To get most of it shoot while the sun is directly overhead for the best natural lighting photos. When overhead, the suns light entering the water is the greatest, when the sun is on an angle some of the water gets reflected off the water and the light doesn’t make it through.

Use a filter
Filters offset the color loss underwater and enhance color significantly on your underwater photos. Use a red filter screwed onto the front of your camera lens to correct color balance, reduce the blues in your pictures. With a little practice, you can produce better images using filters, that have color across large portions of a wreck or reef, than you could have using strobes.
One other tip is to choose a filter density according to the depth at which you will be photographing and the color of the water, ranging from dark blue to green.
Post Processing
The amazing post processing softwares can turn a good image into an excellent image! It doesn’t take away the need for good focus and clear picture tho. But you can add filters, correct color and reduce cyan tinge bringing out the true colors of things. Imaging suites also help get rid of backscatter using the spot correction tool. It’s well worth taking the time to brush up your skills in this area.
This blog post has been designed to give you a few tips on how to take better underwater photographs when diving in Cuba. The underwater world is a fascinating place full of new colors, shapes and textures. To bring your photography to the next level, you need to get creative and have a good understanding of conditions and your camera gear. With these 7 tips in mind, we hope our readers will find themselves more confident about their photos while diving in Cuba!
If you want to bring your images from ‘good’ to ‘great’ then sign up for one of Simply Scuba Cuba underwater photography tours – where all levels are catered for and our award-winning expert photographers will teach you everything they know.


